Install plugin
PlayFab
First of all you need to register in PlayFab if you don't have an account yet. https://playfab.com/
Create a new "Title" if you don't already have one
Import plugin
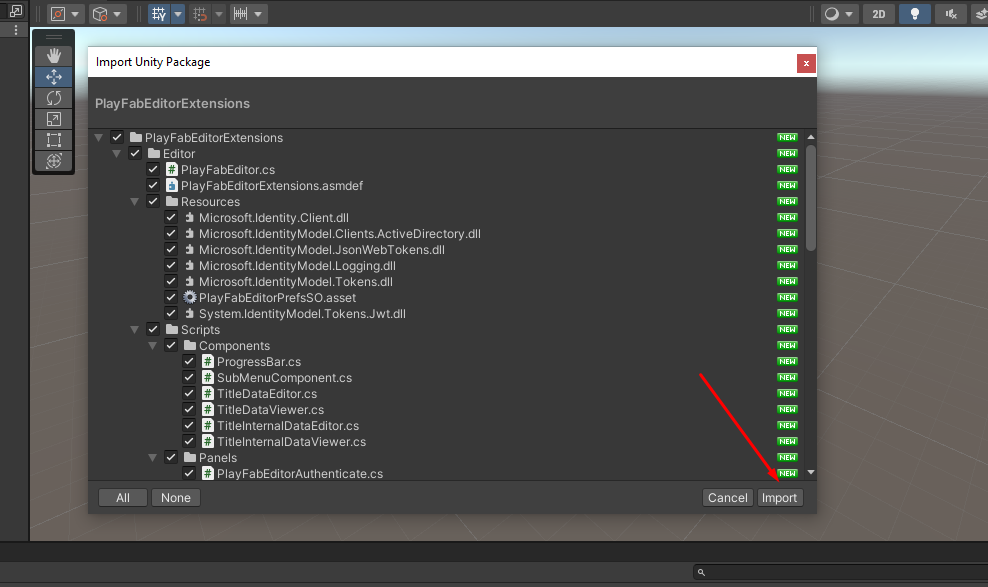
First of all, install the Playfab Editor Extension. Download unitypackage https://aka.ms/playfabunityextension and import to Unity.
Open Playfab editor and login with Playfab account.
If the Playfab context menu does not appear - just restart Unity.
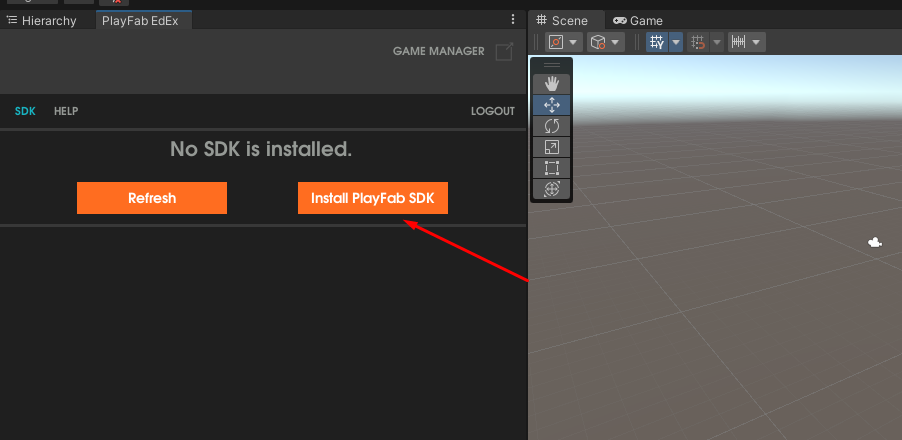
Install PlayFab SDK
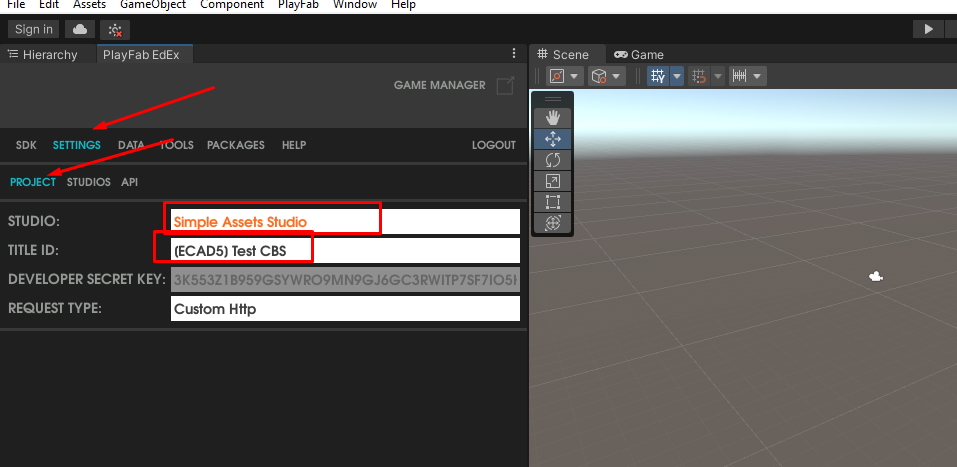
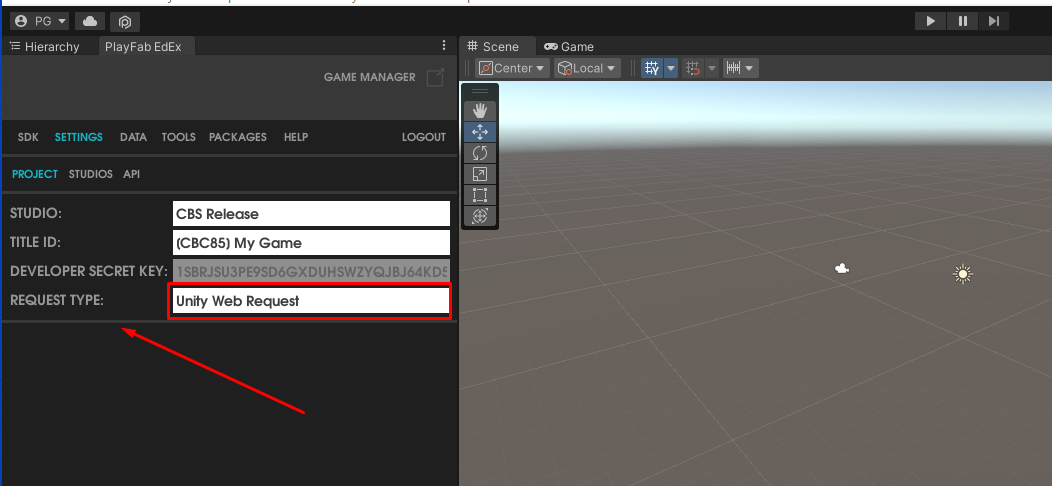
After installing the SDK, select your "Studio" and "Title Id"
Select "Unity Web Request" as request type
Install cbs plugin from asset-store
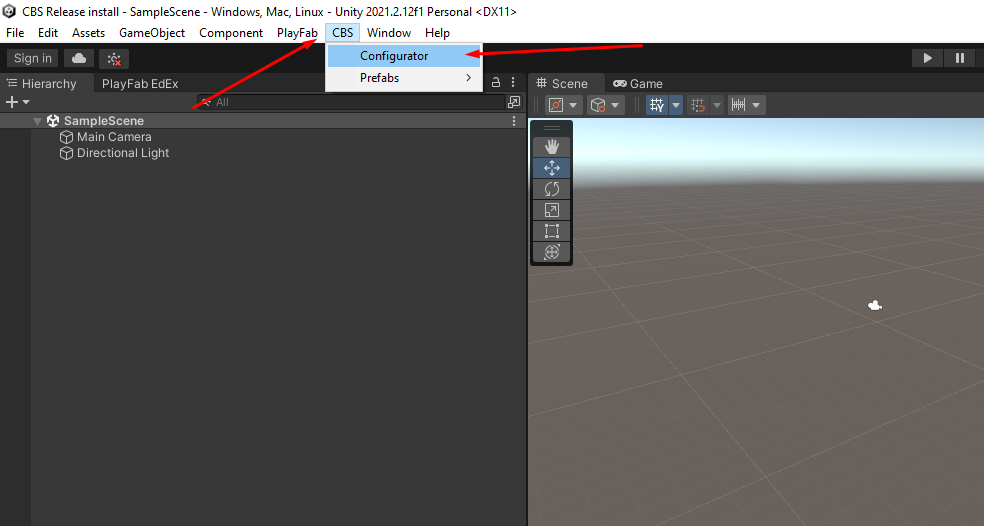
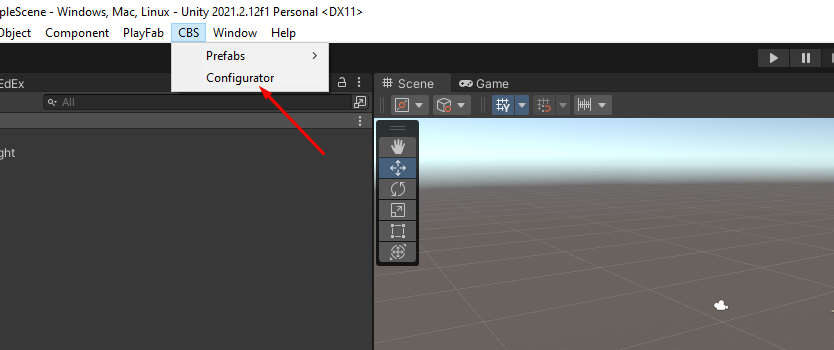
Open CBS Configrator
The first time a Missing Script Define warning appears. Click Yes
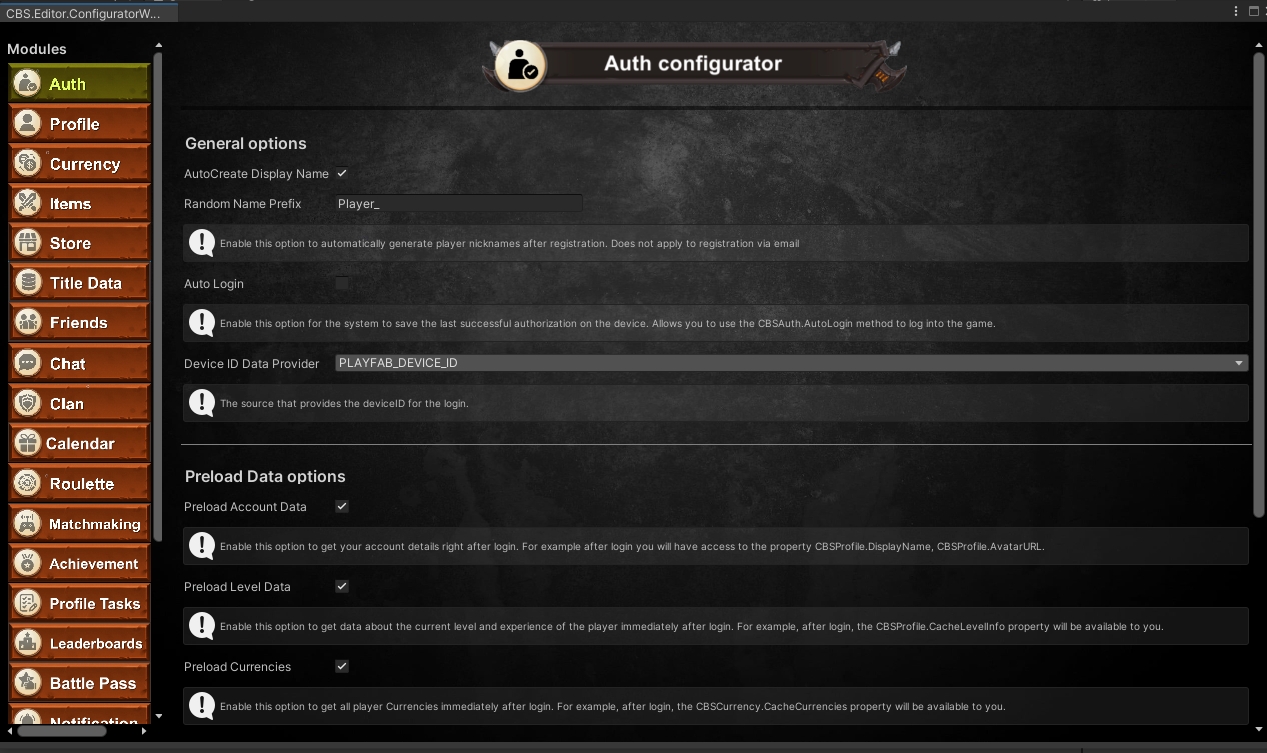
Again navigate to Open CBS->Configurator and CBS editor window will appear if everything is install correctly.
Azure portal
You need to sign up for the azure portal if you don't have an account yet. https://portal.azure.com/
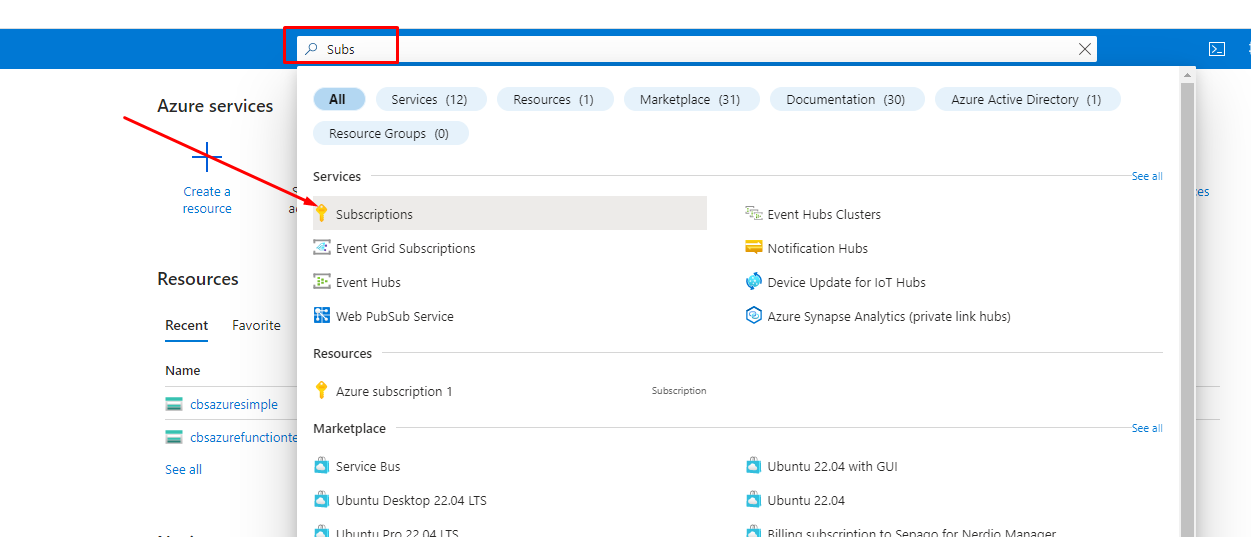
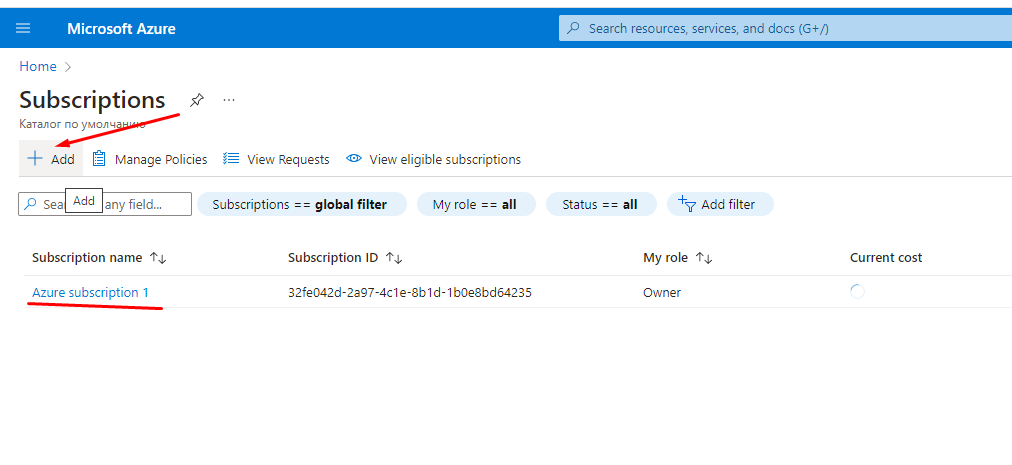
Log in to azure portal and navigate to Subscription
You must have at least one subscription - if not, create one
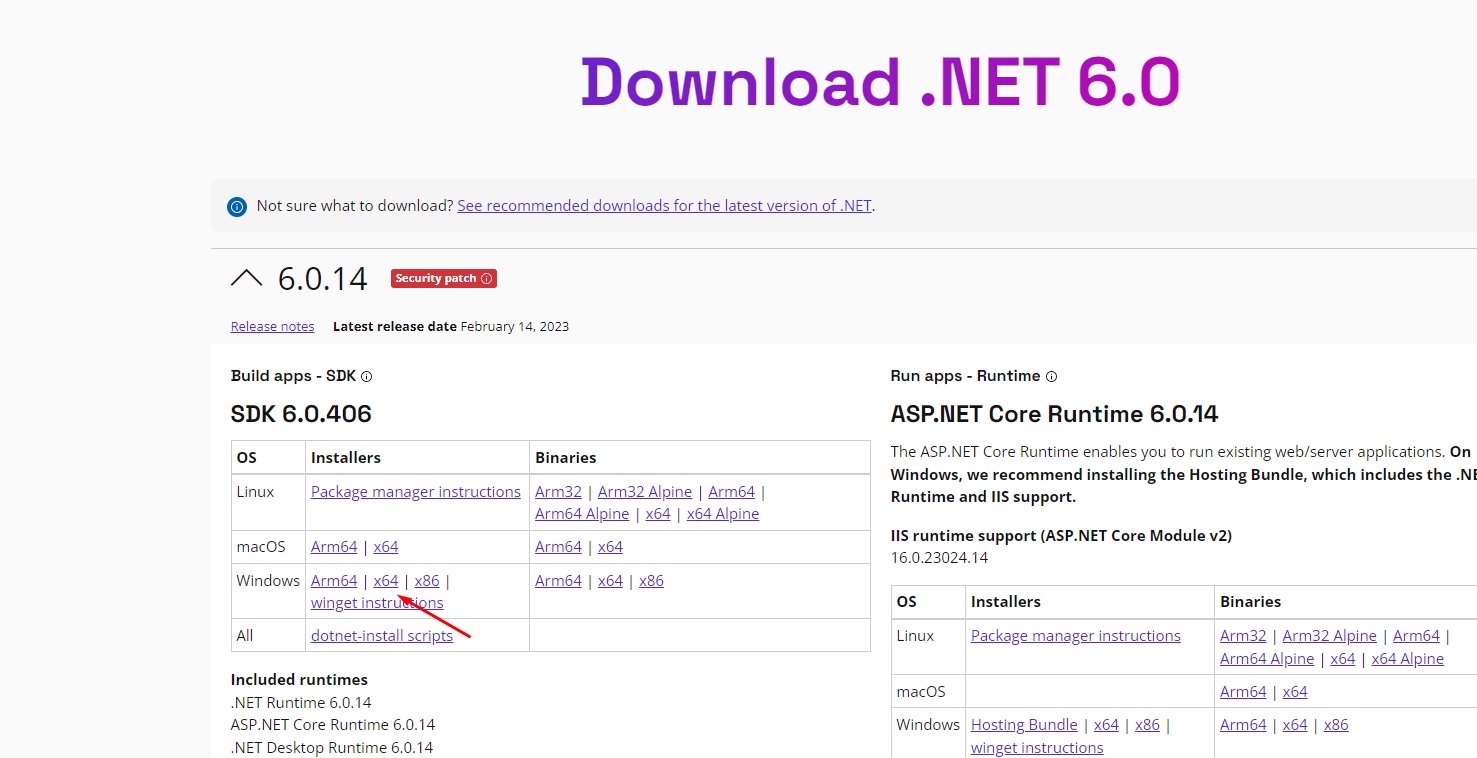
Install .NET SDK
Go to https://dotnet.microsoft.com/en-us/download/dotnet/6.0
Download the appropriate sdk for your platform and install it
Restart your PC after installation
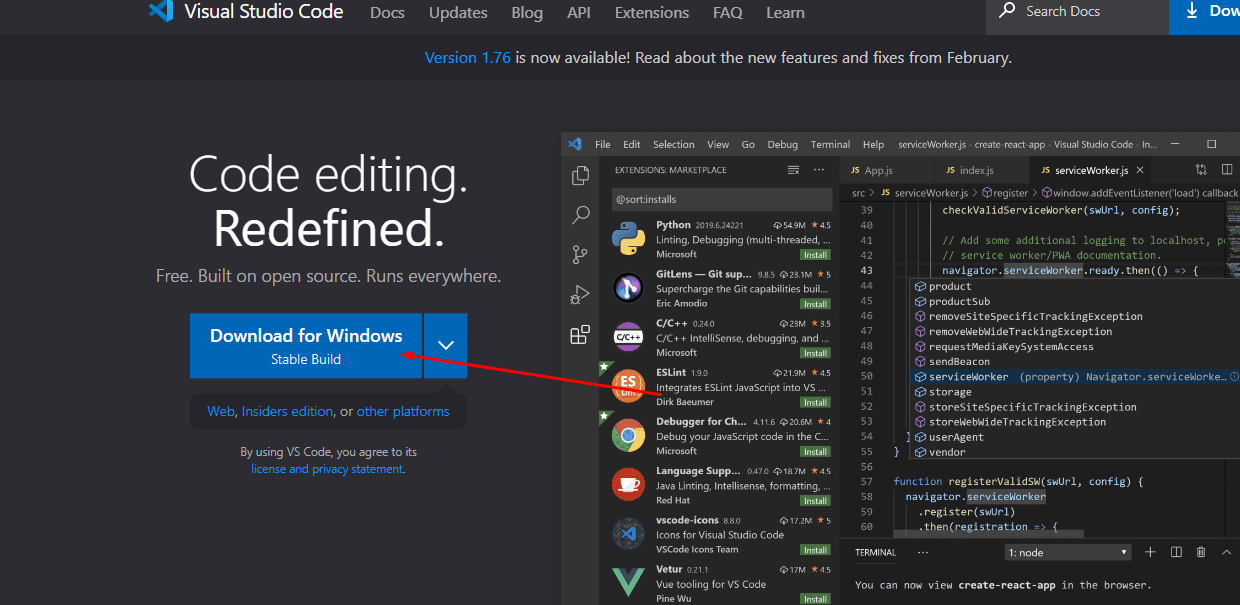
Install VS Code
Follow this link https://code.visualstudio.com/
And install Visual Studio Code
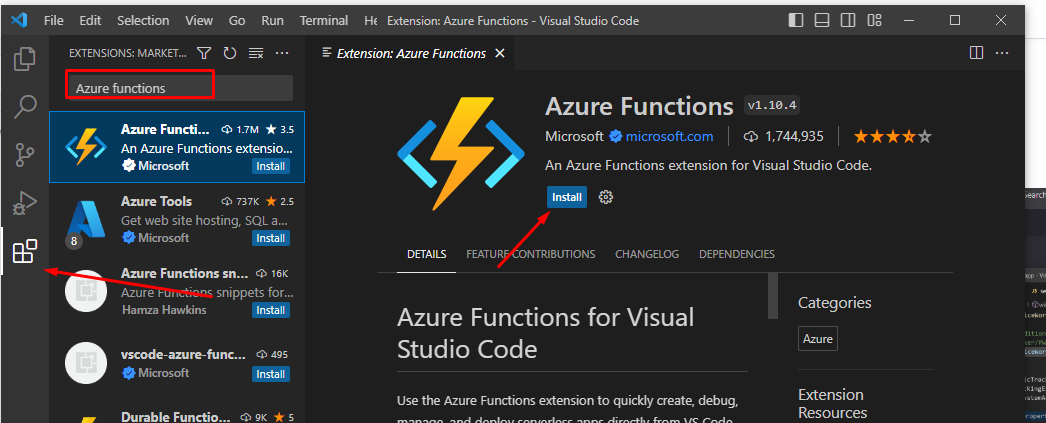
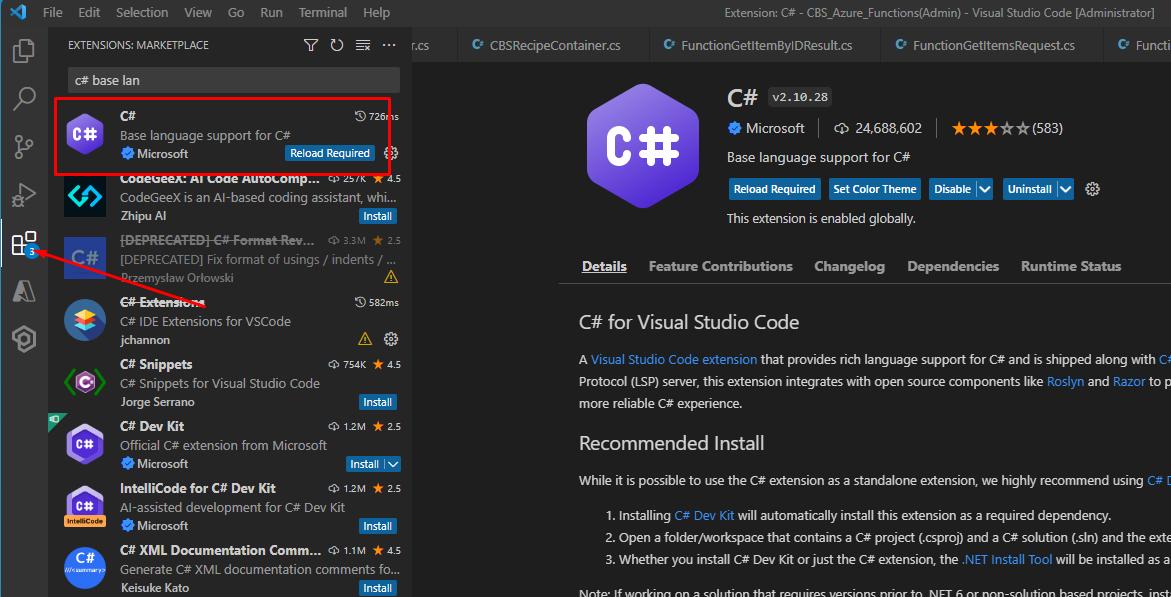
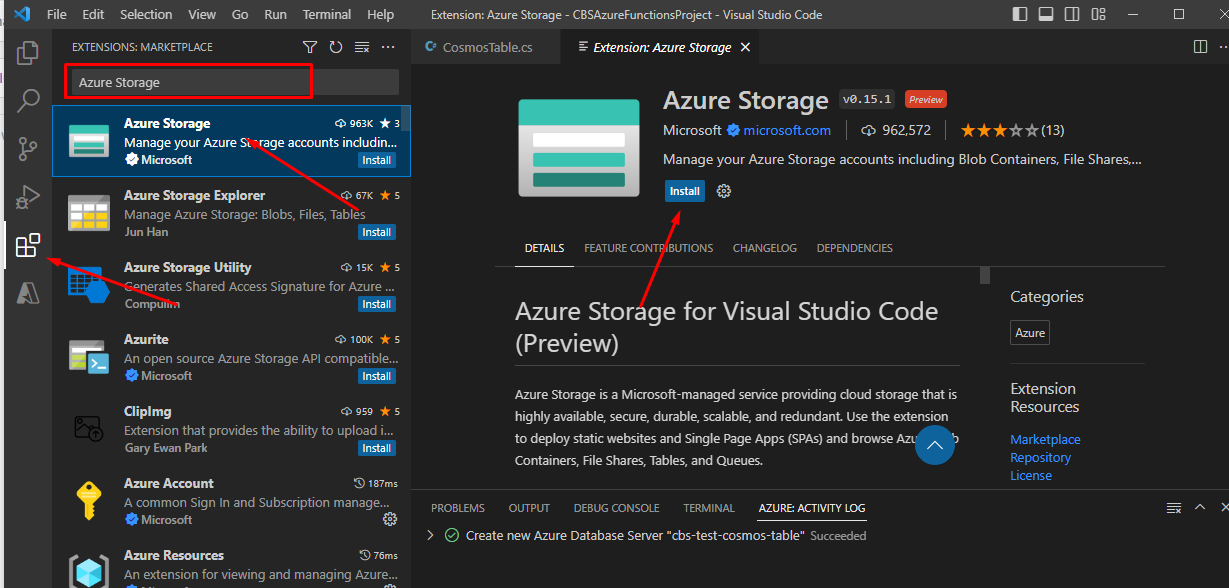
Open VS Code and install the following extensions:
Azure Functions
C# for Visual Studio Code
Azure Storage
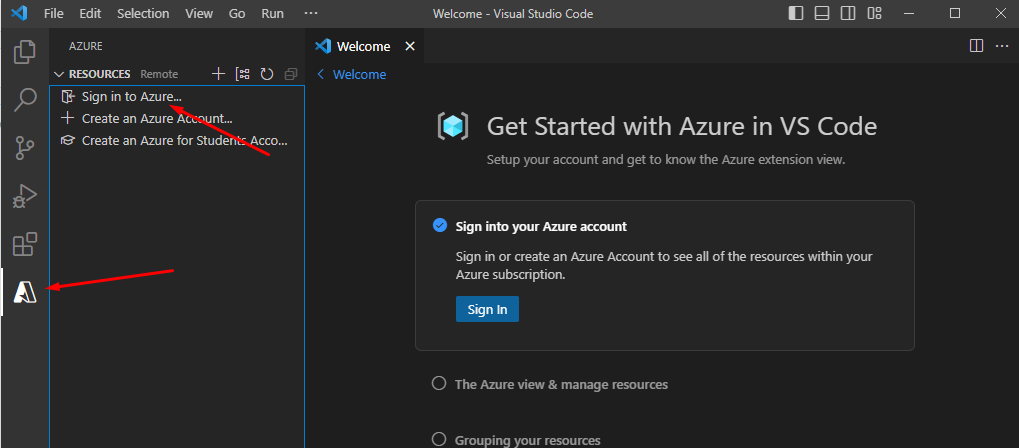
Sign in to Azure
Import Azure functions project
Open CBS Configurator
Navigate to "PlayFab" tab and click "Import Azure Functions Project"
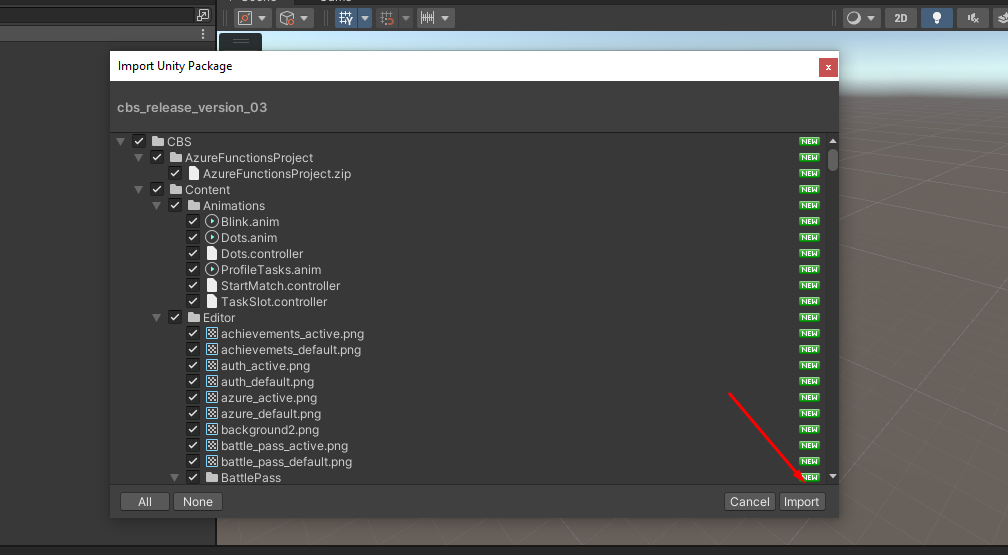
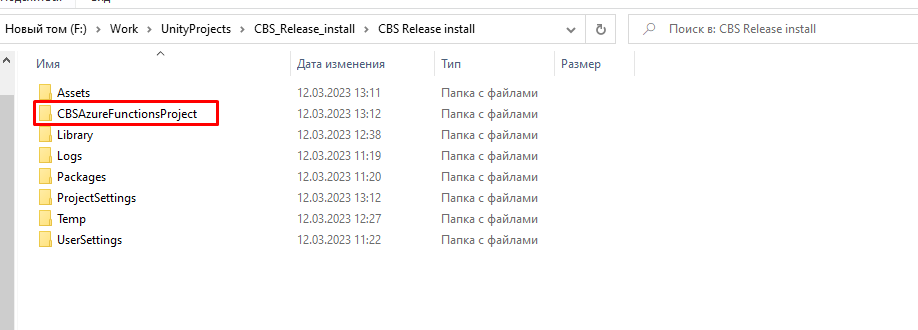
After a successful import, you will see that a folder "CBSAzureFunctionsProject" has been created in the root of the project
Configure Azure function project
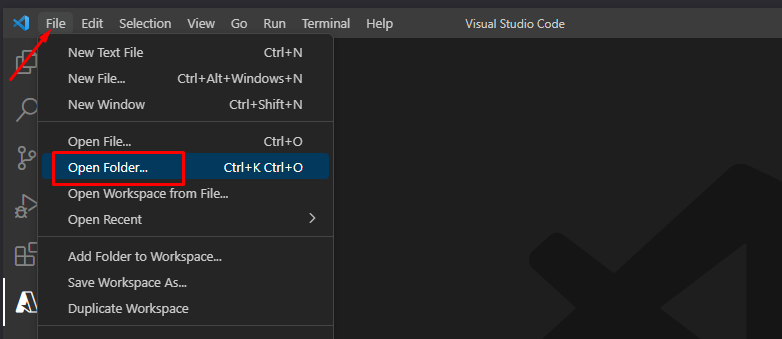
Open VS Code. File->Open Folder
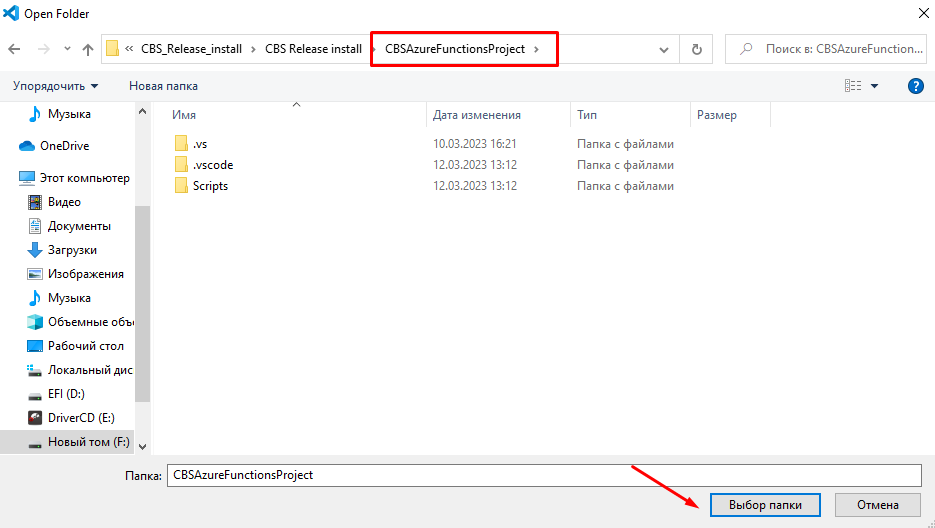
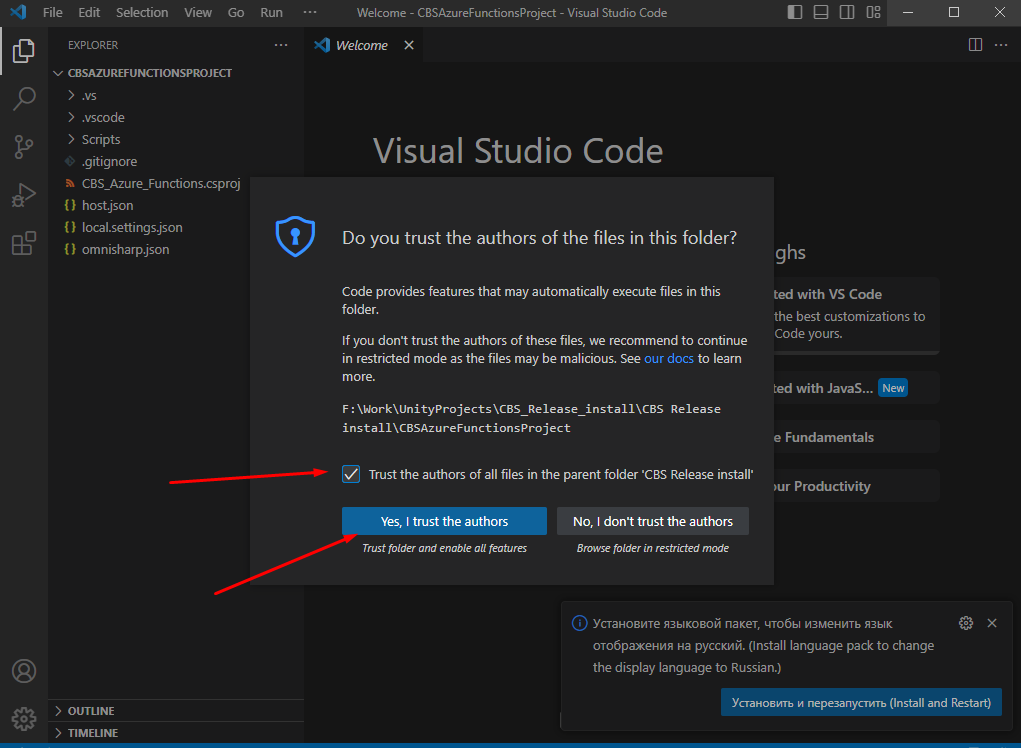
Select the "CBSAzureFunctionsProject" directory (the azure project you imported earlier) and open it
Enable checkbox and click "Yes, I trust the authors"
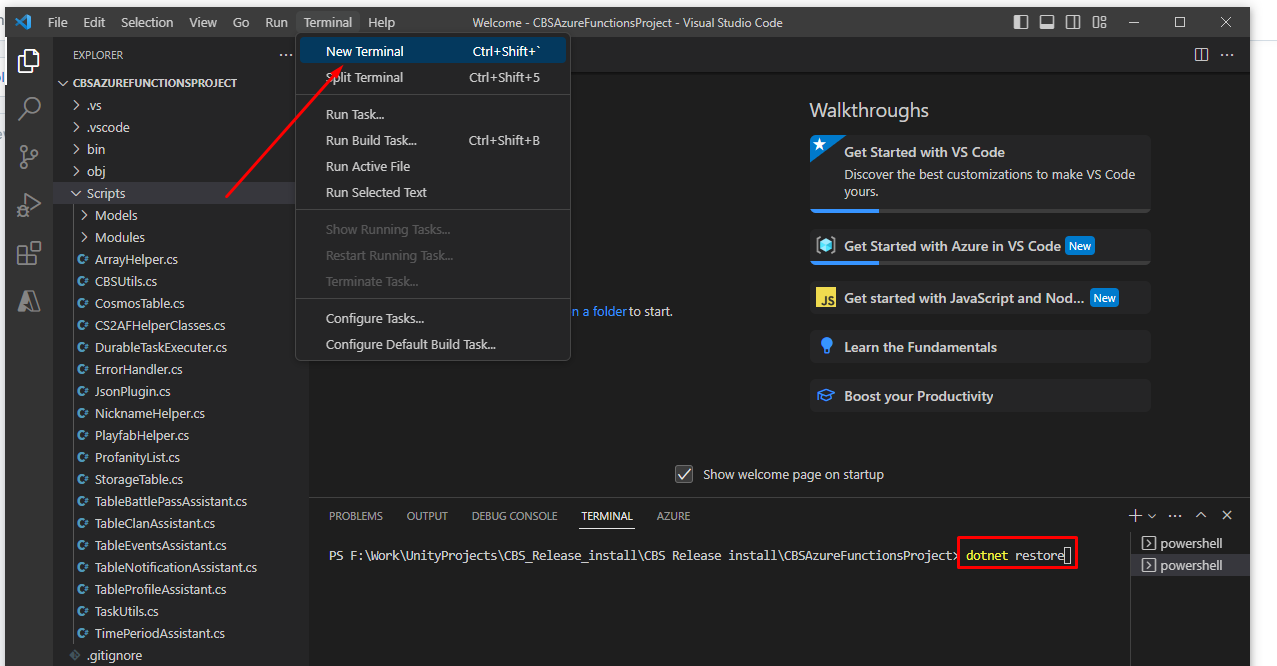
Open "New Terminal" and run "dotnet restore" command
Create Azure Function App
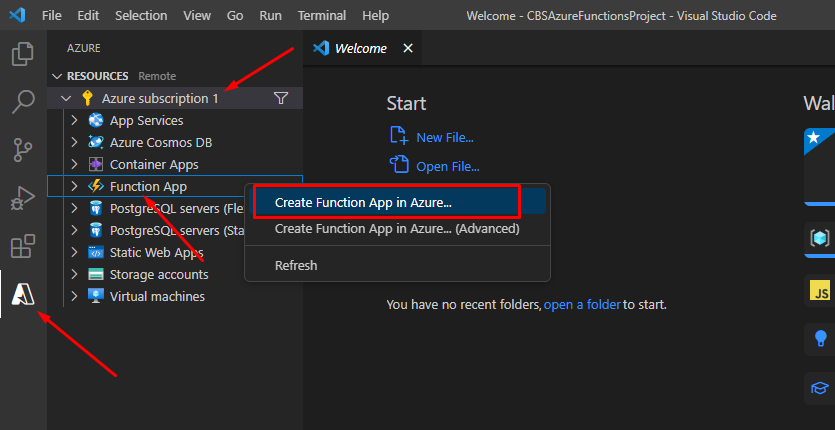
Select Azure tab. Open your subscription. Right click to "Function App"=> Create Function App in Azure
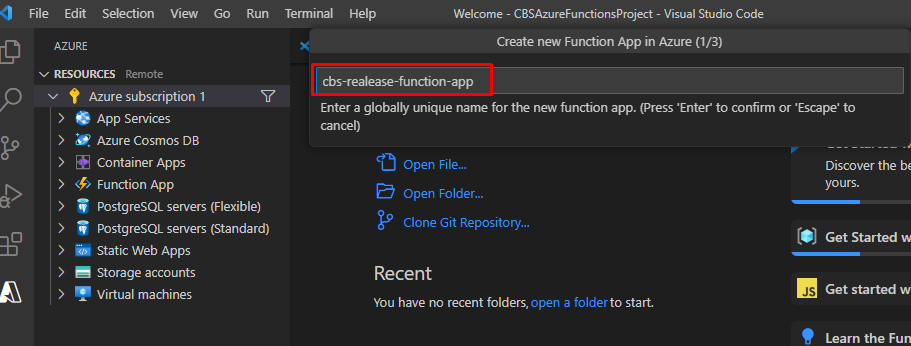
Enter your function app name
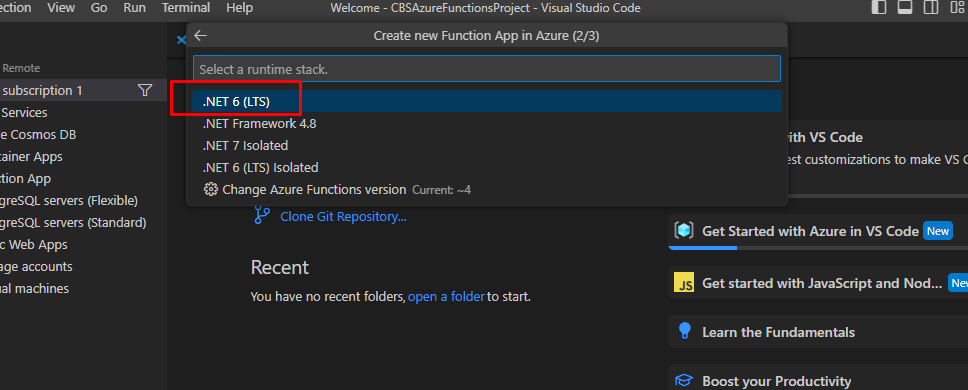
Select .NET 6
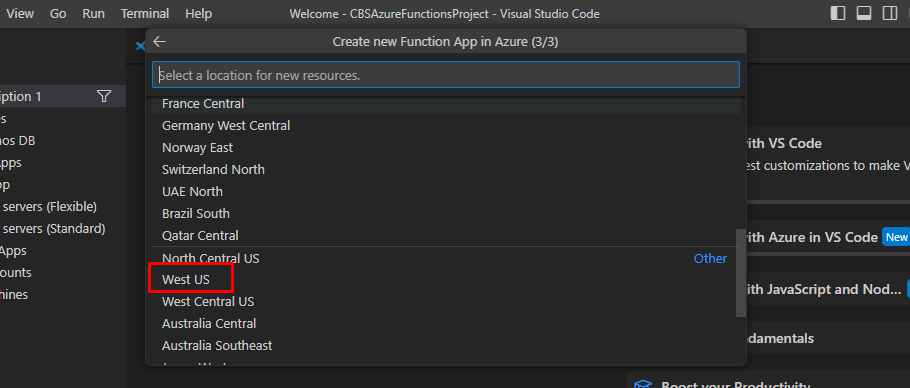
Select app function location (Recommended - WestUS)
PlayFab recommends choosing the WestUS location, since the PlayFab and Azure servers are located in this location together, this will speed up the query execution time
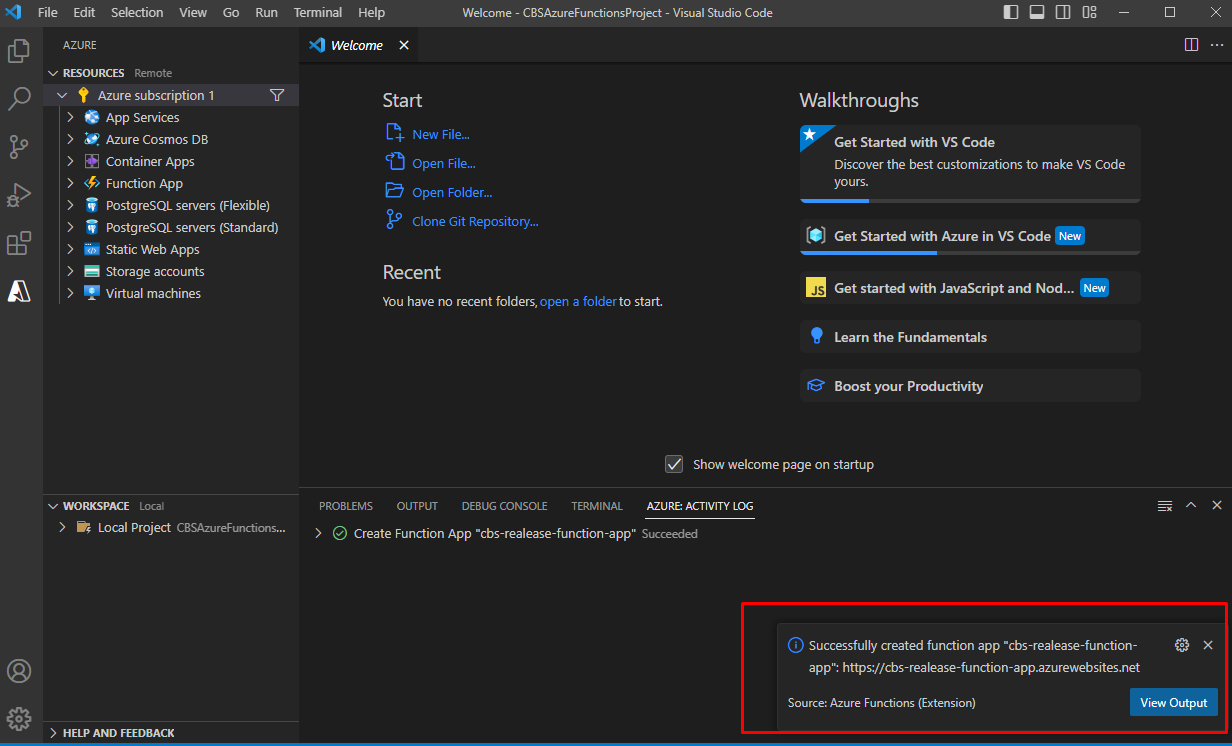
You will receive a notification that the "Function App" was successfully created.
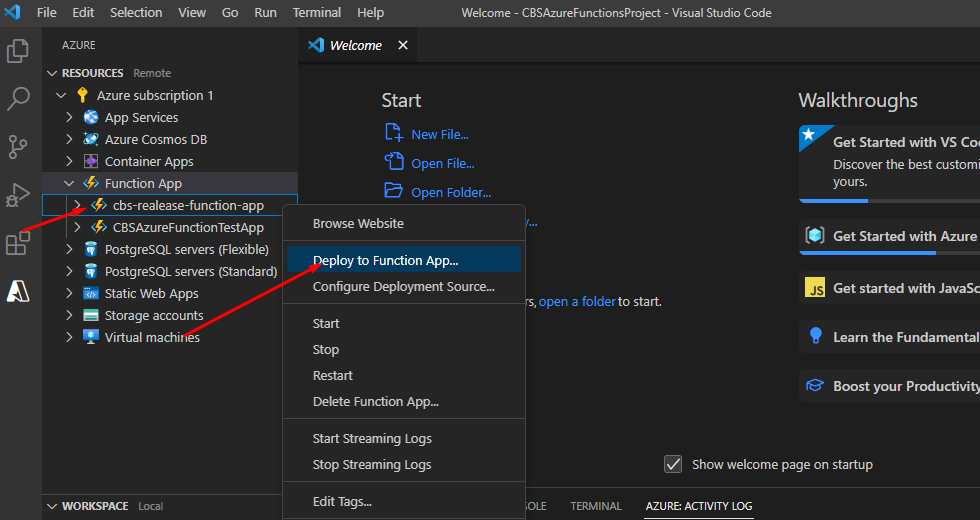
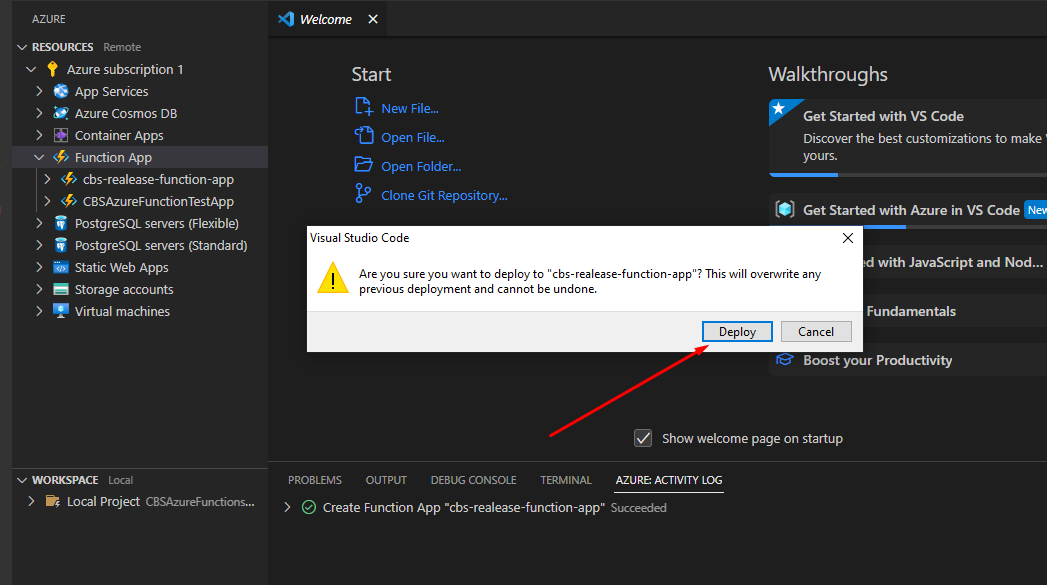
Select you function app. Right click->Deploy to Function App
Confirm the window that appears
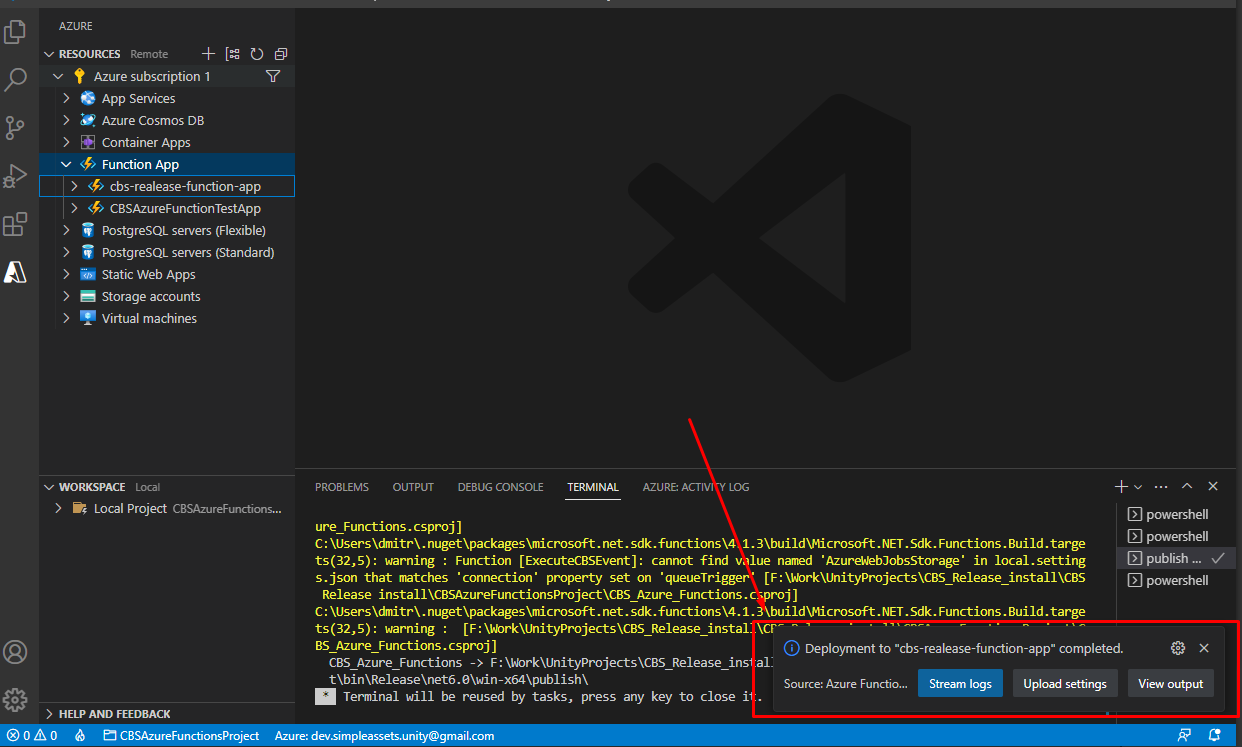
You will receive a notification that the deploy was successful.
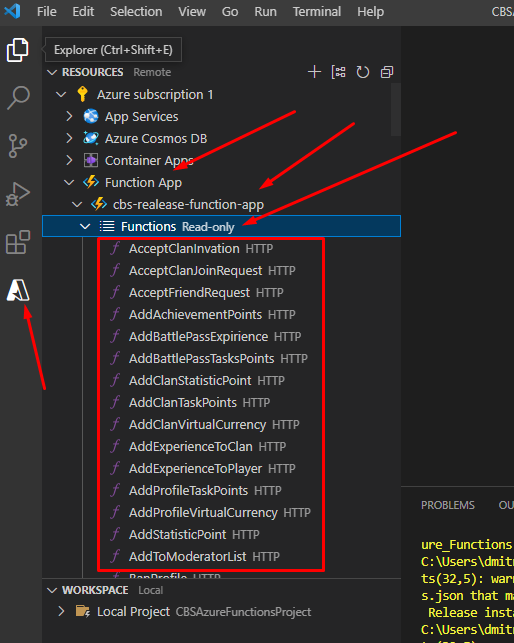
Make sure the functions have been uploaded to azure side and functions list is present
Function App configuration
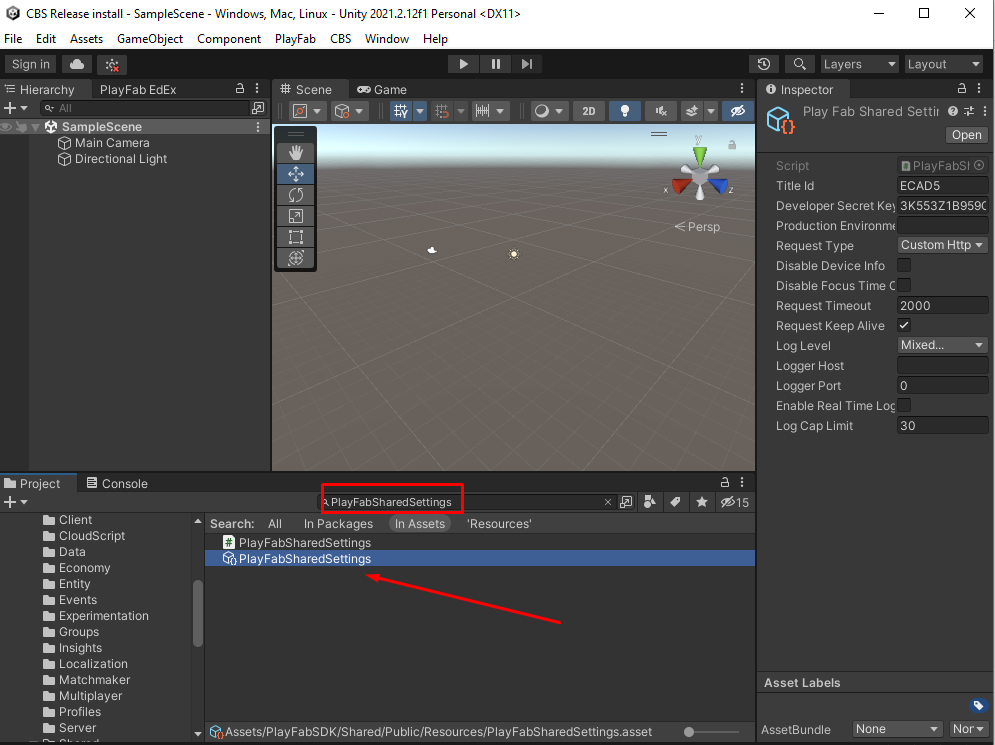
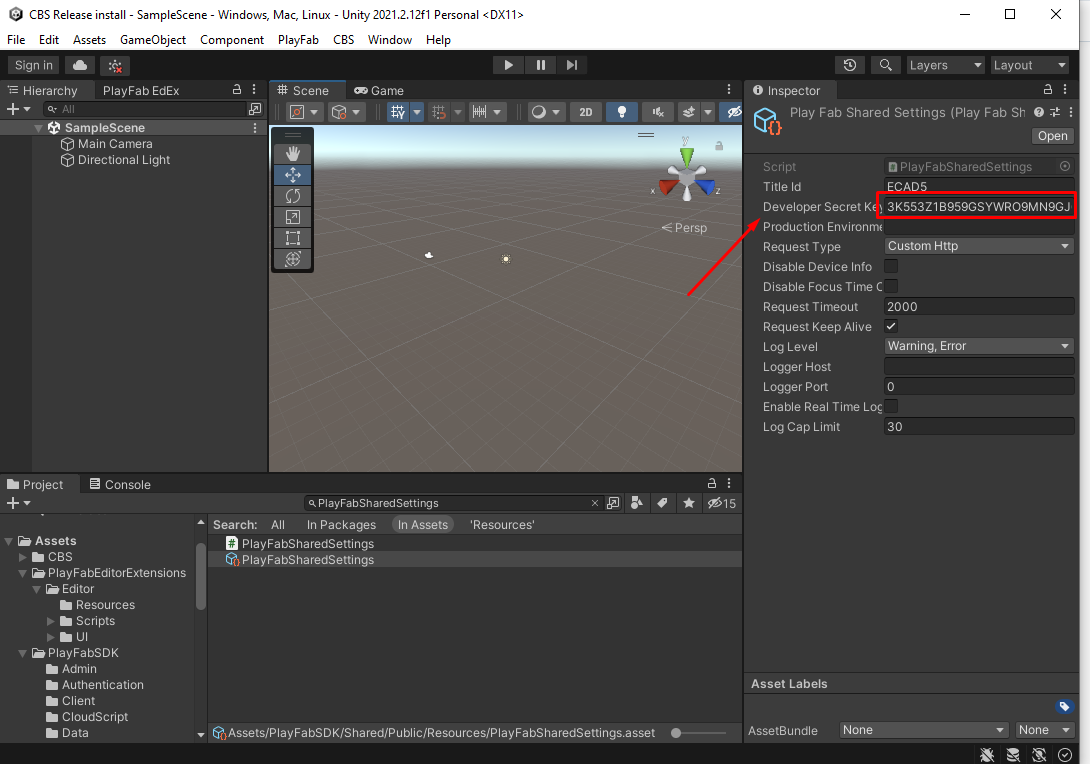
Open Unity project. Find "PlayFabSharedSettings" scriptable object. Assets/PlayFabSDK/Shared/Public/Resources/PlayFabSharedSettings
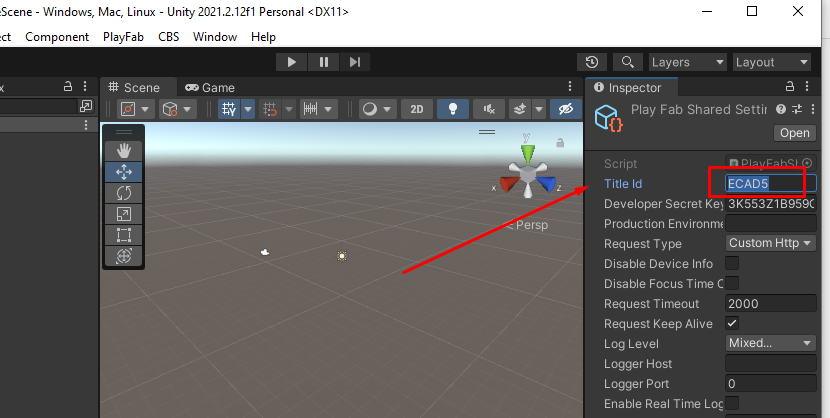
Copy Title ID
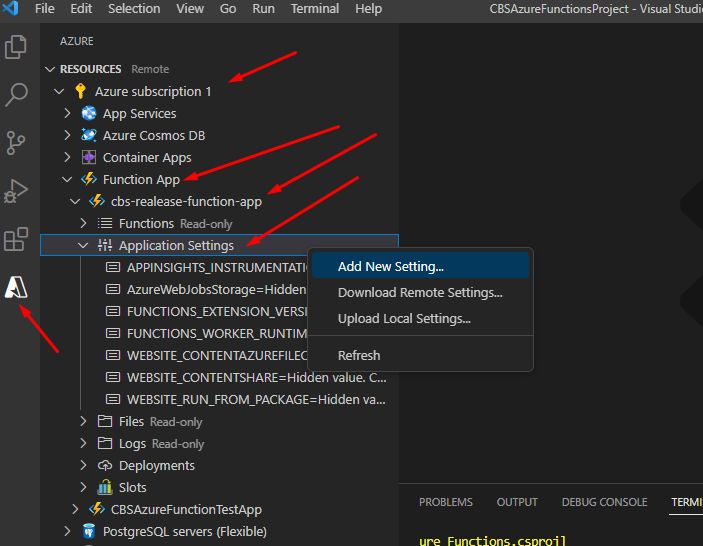
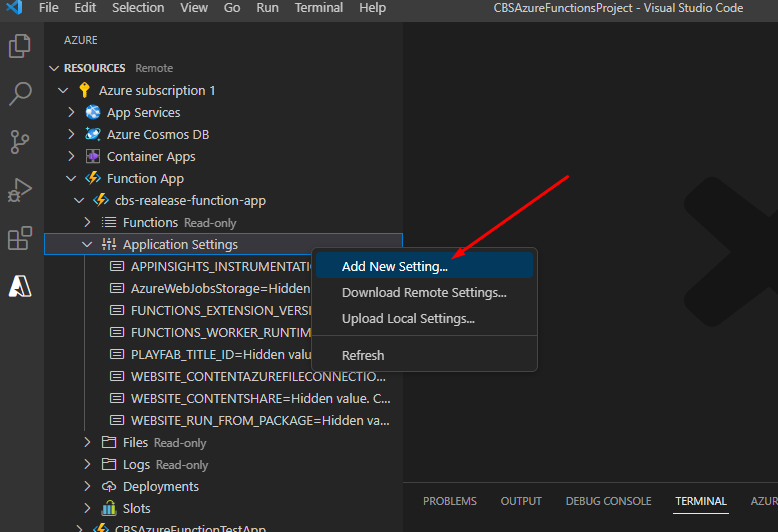
Select "Application Setting" of your function app. Right click->Add new Setting...
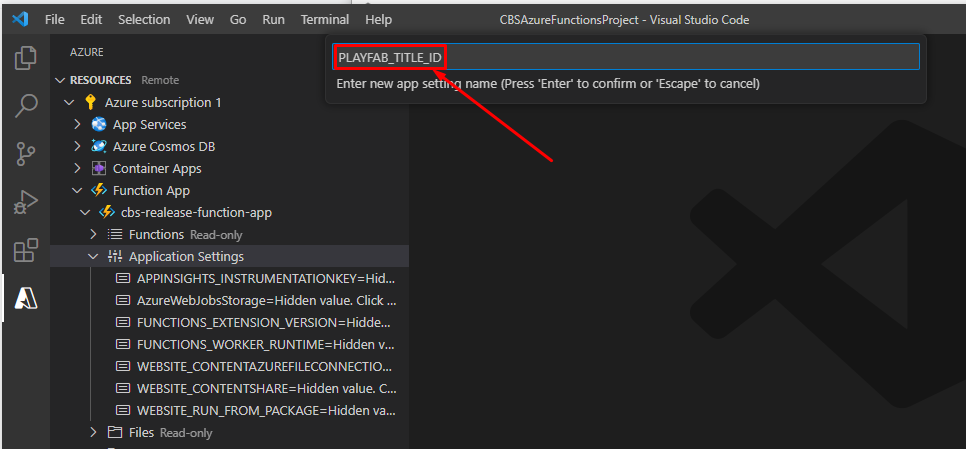
Enter PLAYFAB_TITLE_ID as setting name. Press enter
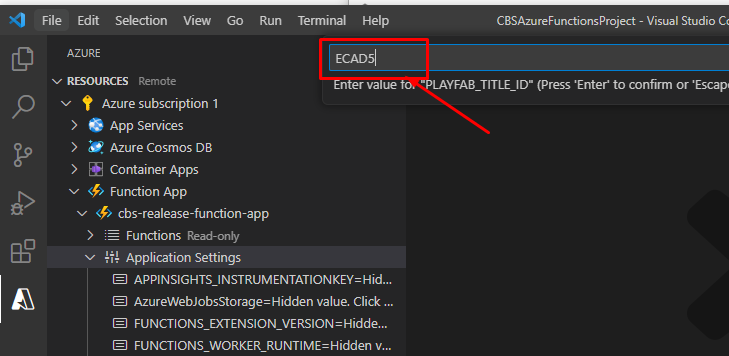
Paste copied title id as setting value. Press enter
Copy developer secret key
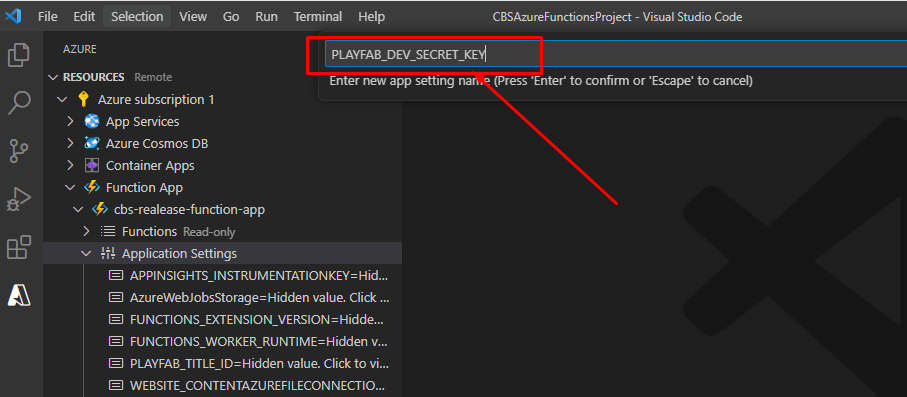
Again click add new setting
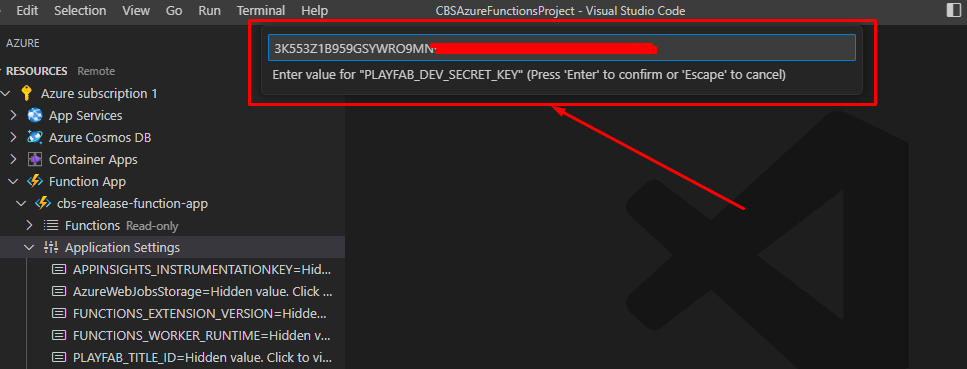
Enter PLAYFAB_DEV_SECRET_KEY as setting name. Press enter
Paste copied developer secret key as setting value. Press enter
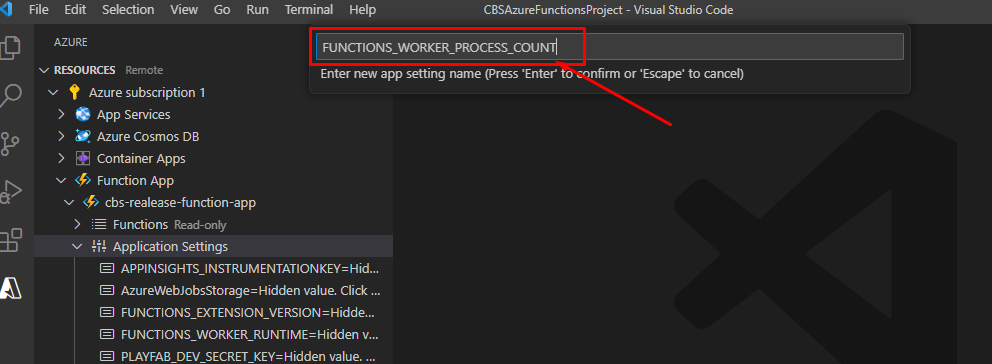
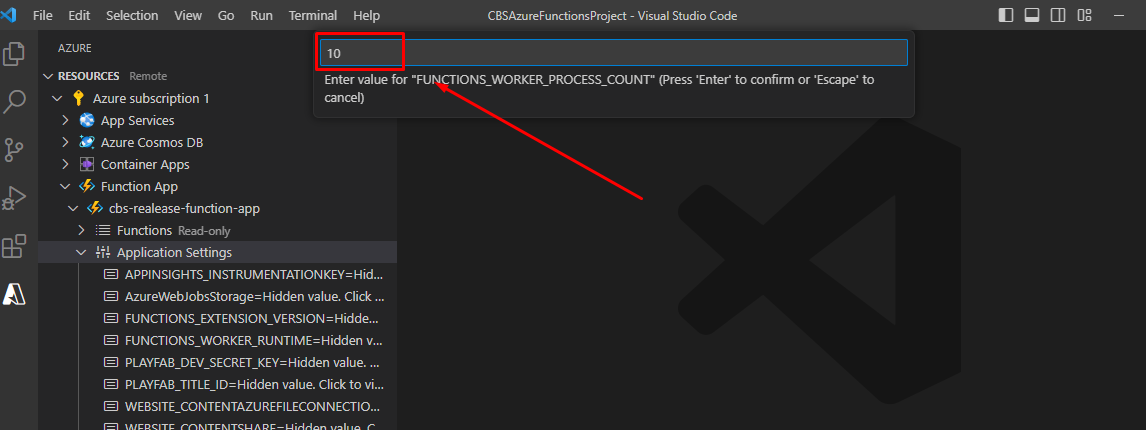
Again click add new setting
Enter FUNCTIONS_WORKER_PROCESS_COUNT as setting name. Press enter
Enter 10 as setting value. Press enter
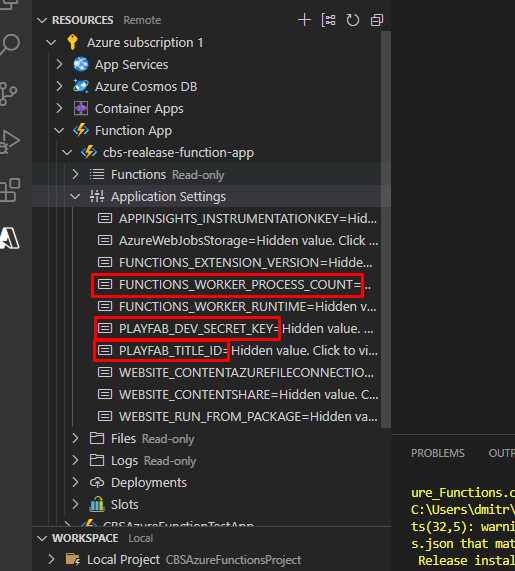
Finally you will have new three settings values
I also recommend that you remove the APPINSIGHTS_INSTRUMENTATIONKEY setting. Deleting disables "Log Analytics". This will allow you to reduce the monthly payment for azure services by at least 4 times
Finally just deploy your function again
Configure cosmos table (OPTIONAL)
This setting allows you to use azure cosmos table instead of azure storage table. This will improve query performance. But at the same time, it is worth remembering that the cosmos table is much more expensive. I recommend enabling this option only if you plan to have a popular game with millions of users. For indie games - I recommend skipping this step. You can see the difference between the tables here Cosmos table vs Storage table
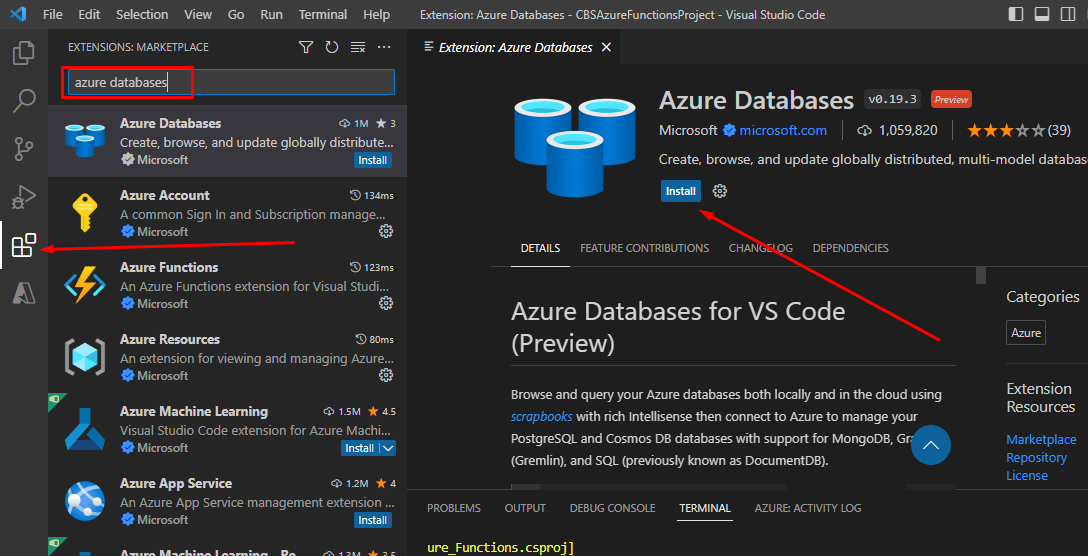
Install new VSCode extension
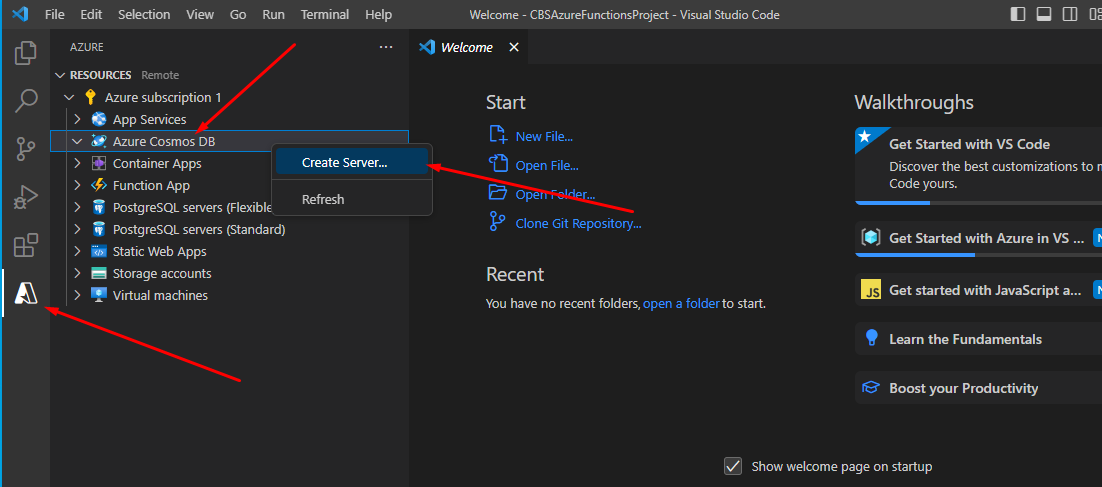
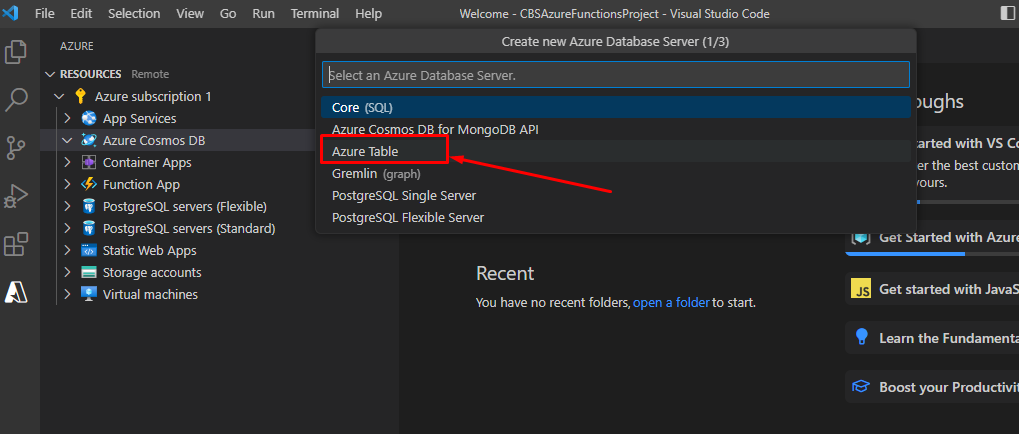
Right click to Azure Cosmos DB=> Create Server
Select Azure table
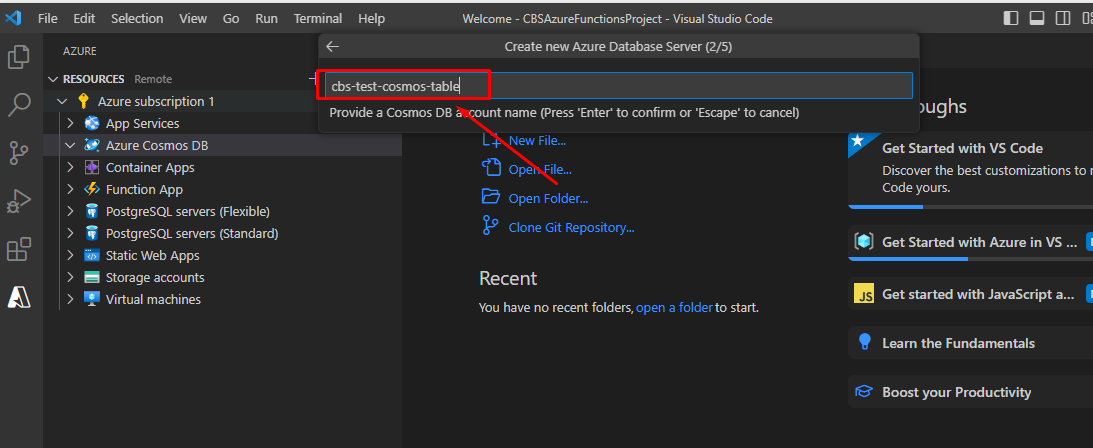
Enter table name
IMPORTANT! Select Serverless
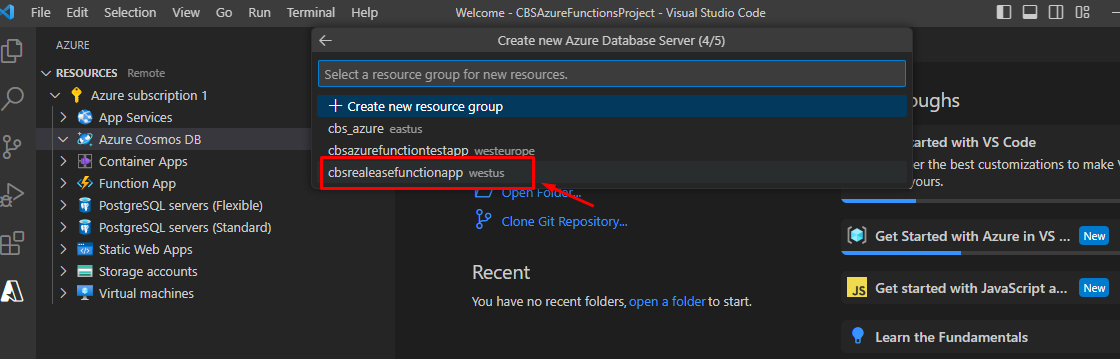
Select your function app name
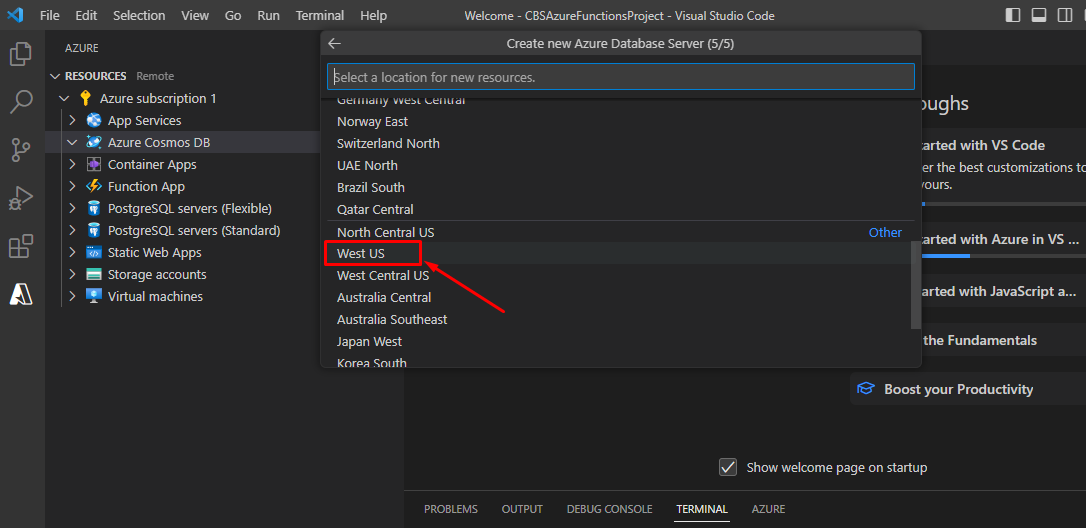
Select WestUS location
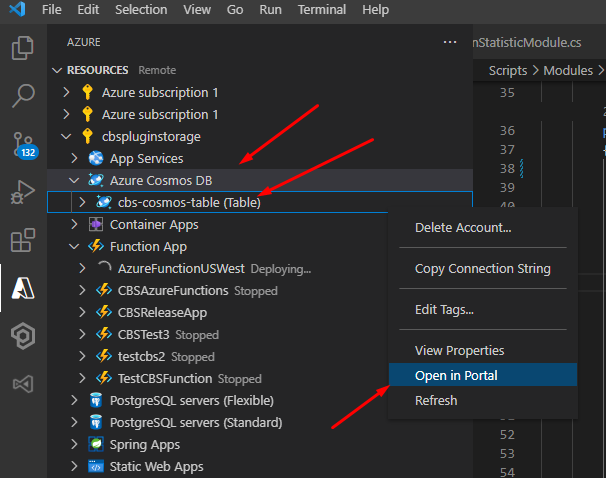
After creating the table, right-click on it=> Open in Portal
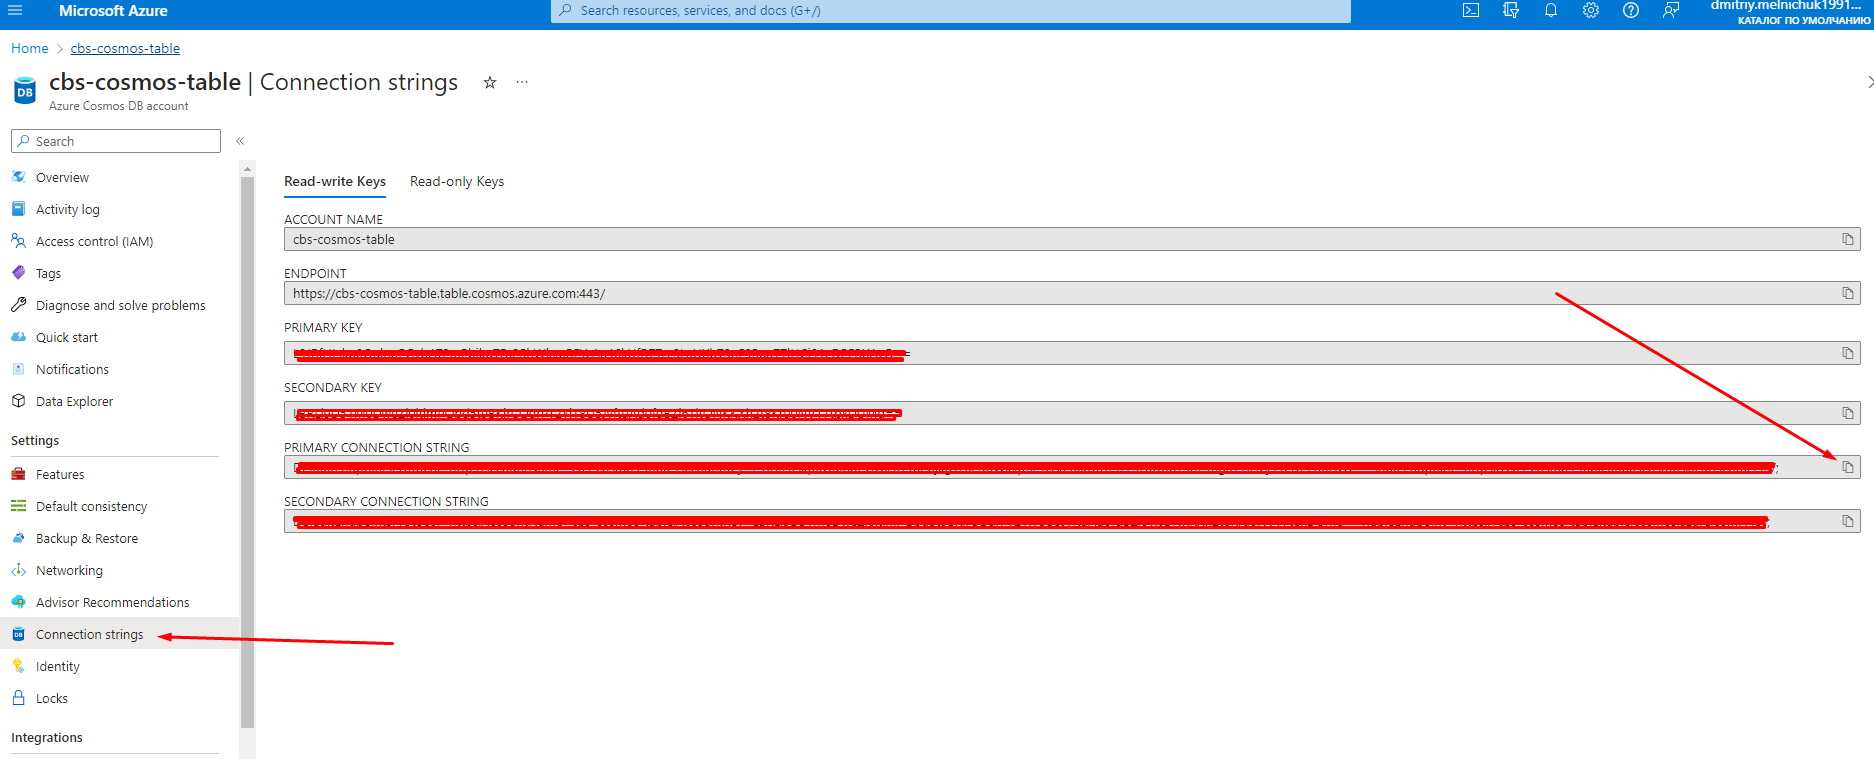
Navigate to "Connection strings" and copy "PRIMARY CONNECTION STRING"
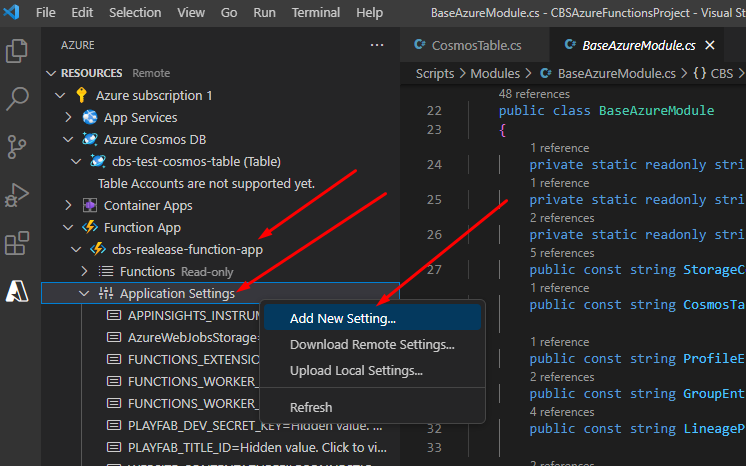
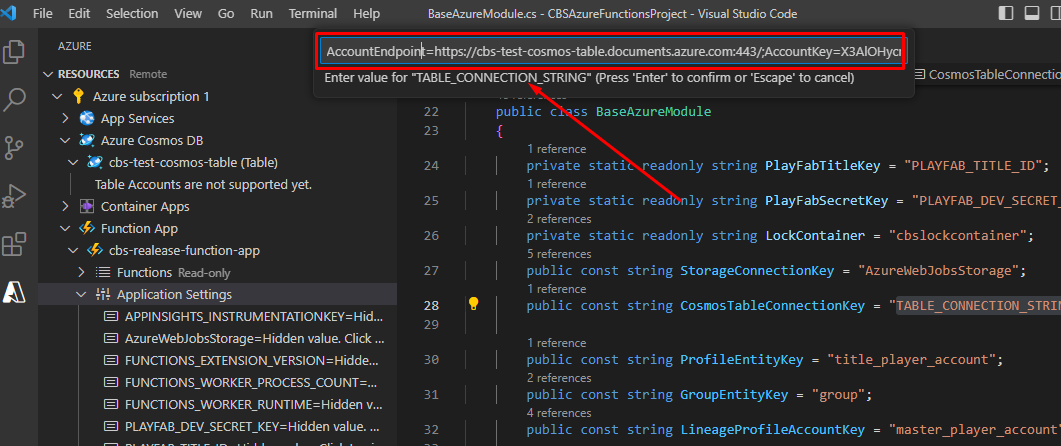
Right click to Application Setting=> Add new Setting
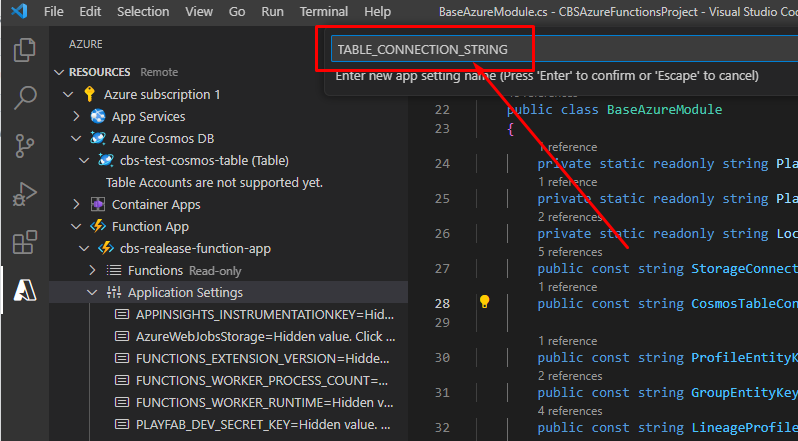
Enter TABLE_CONNECTION_STRING as setting value. Press enter
Paste copied connection string as setting value. Press enter
Configure unity project
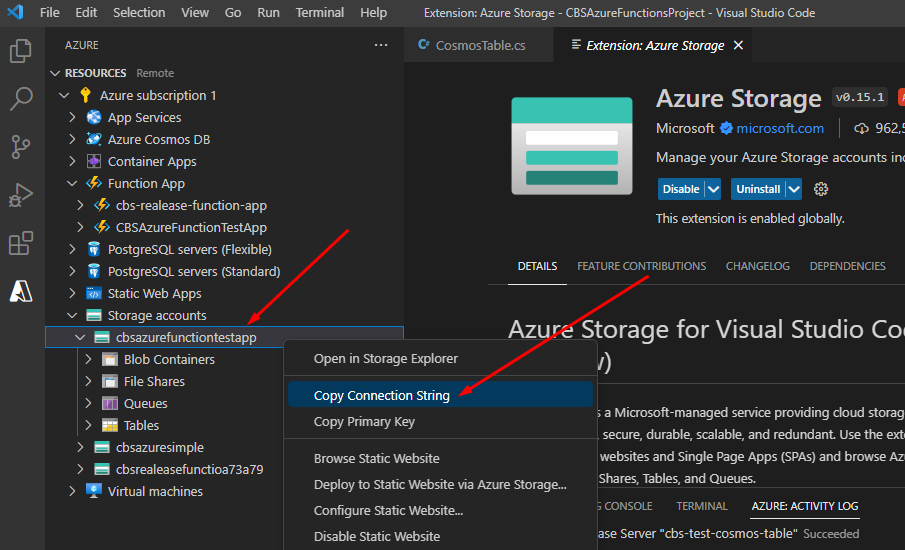
Open the Storage accounts tab. Look for "storage" which matches the name of your function app. Right click=>Copy Connection String
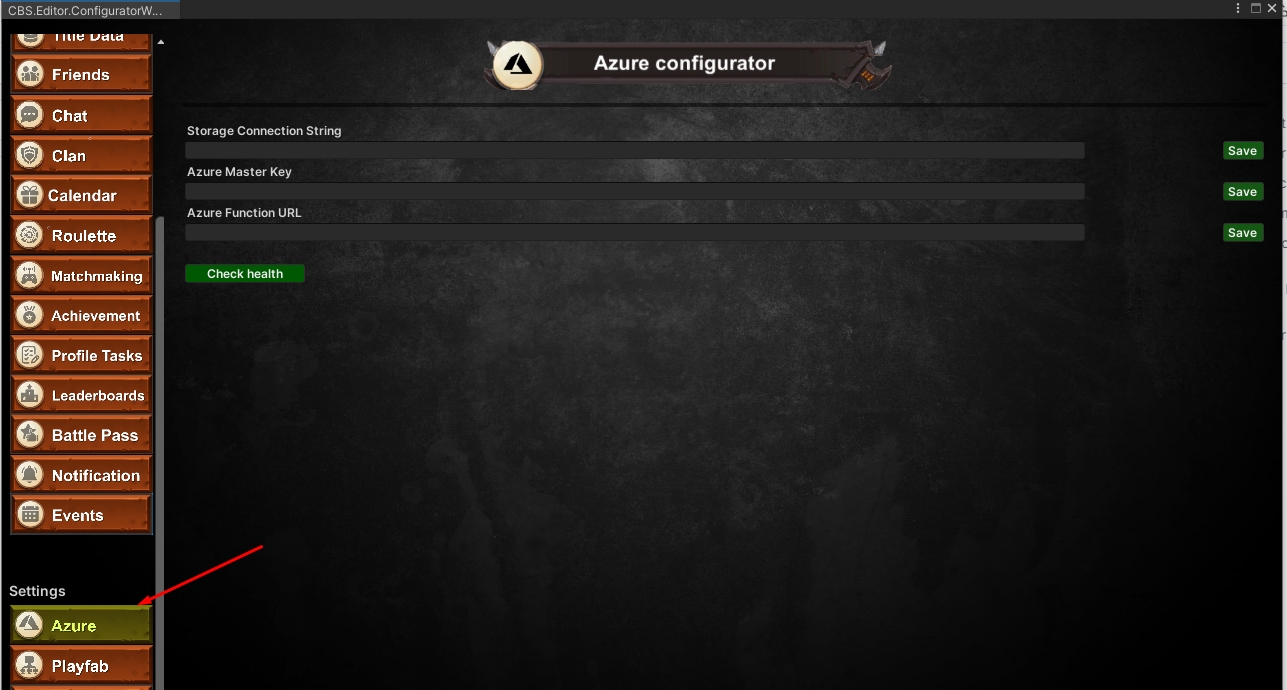
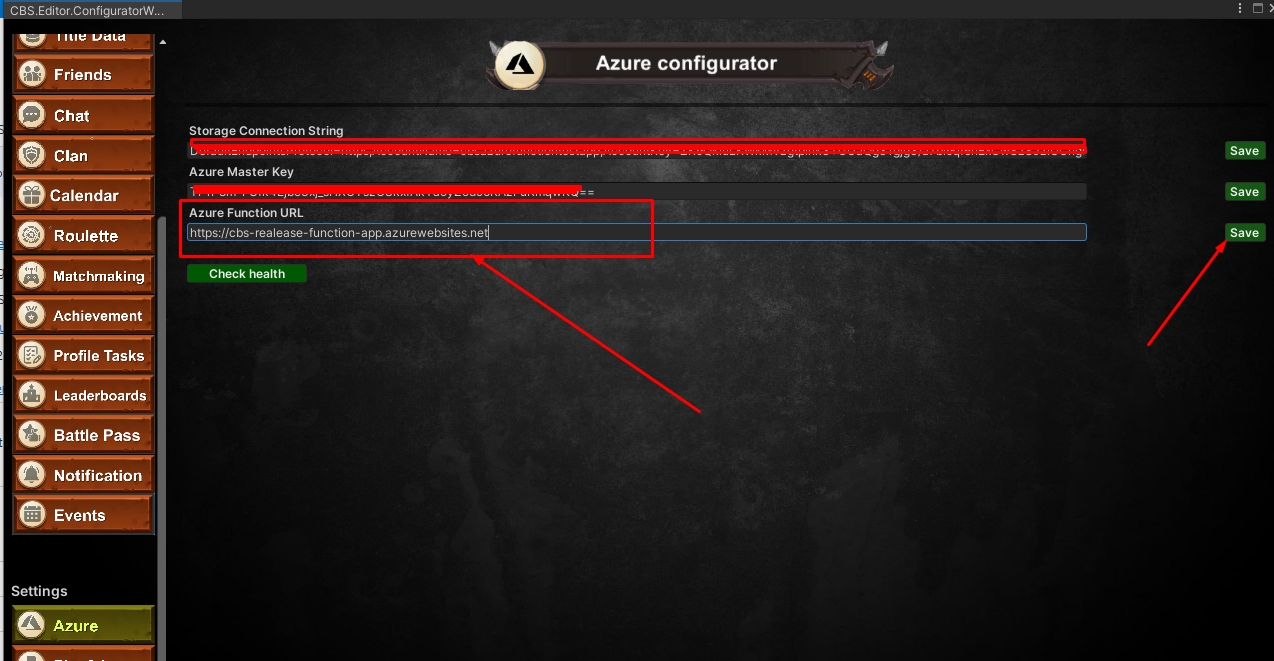
Open cbs confirurator. Navigate to Azure tab
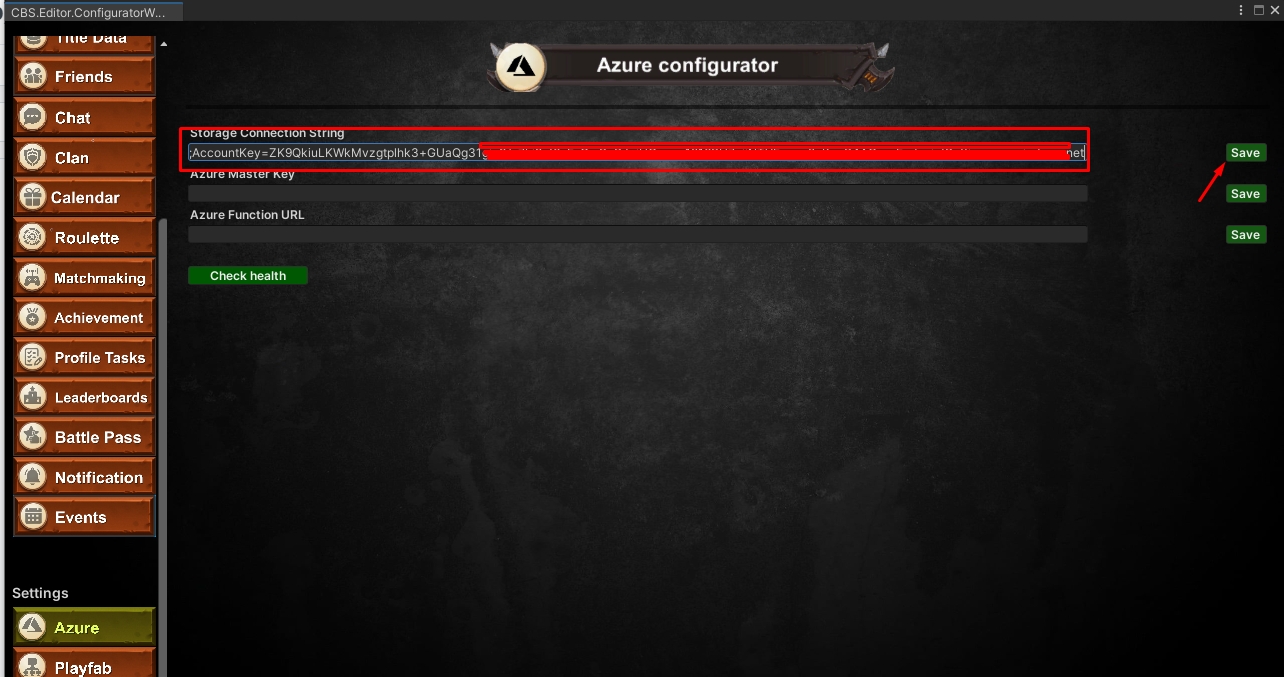
Paste connection string. Click save
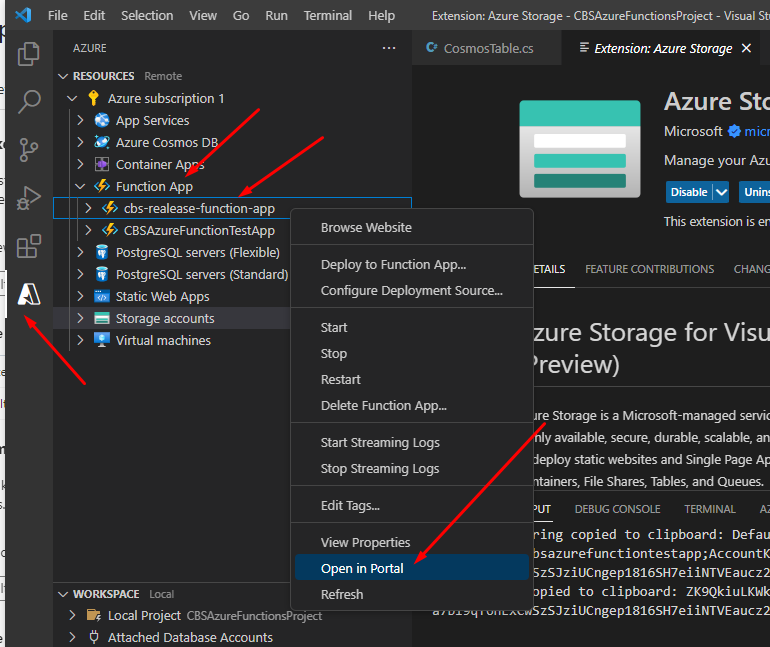
Right click to your function app=>Open in Portal
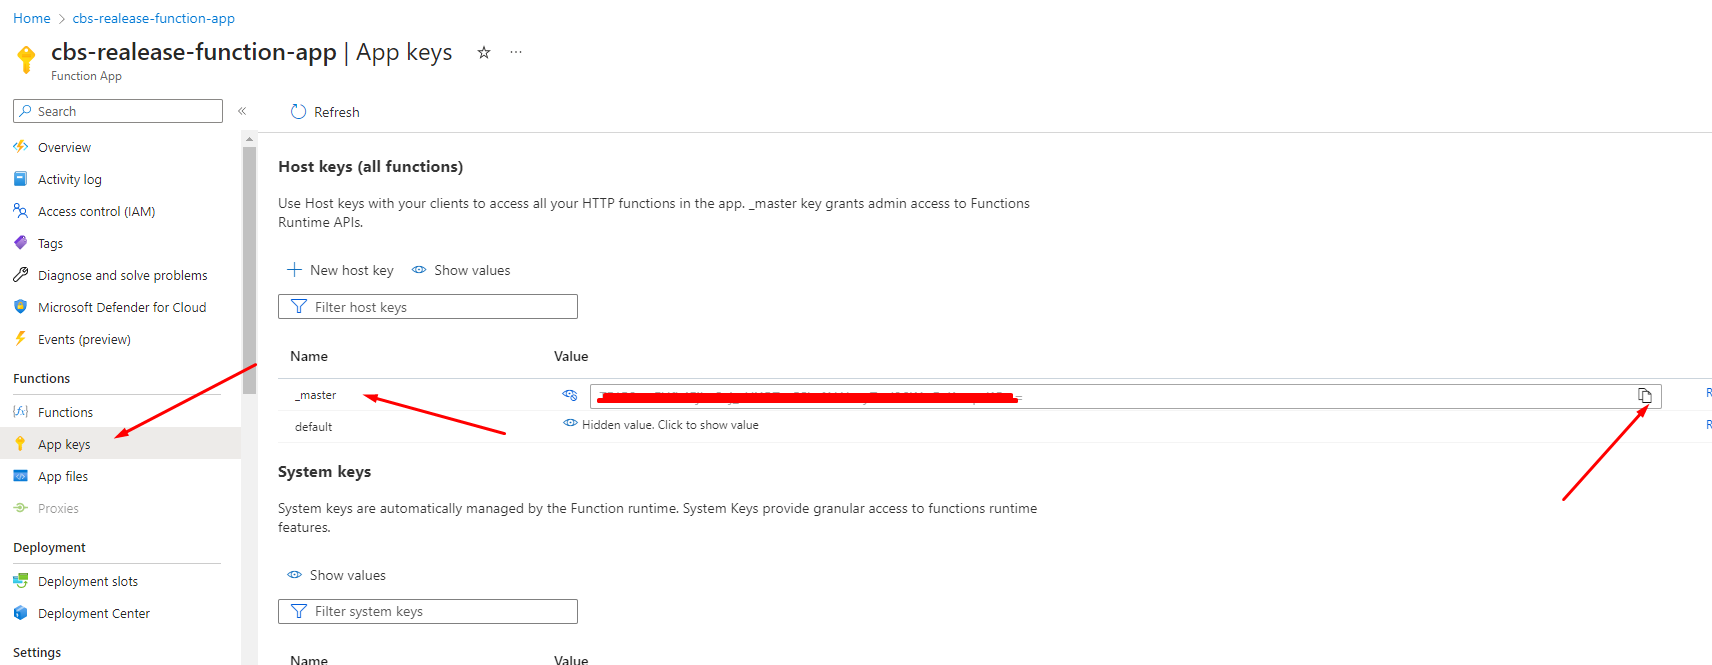
Navigate to "App keys" tab. Copy master key
Paste key in to "Azure Master key" field. Click Save
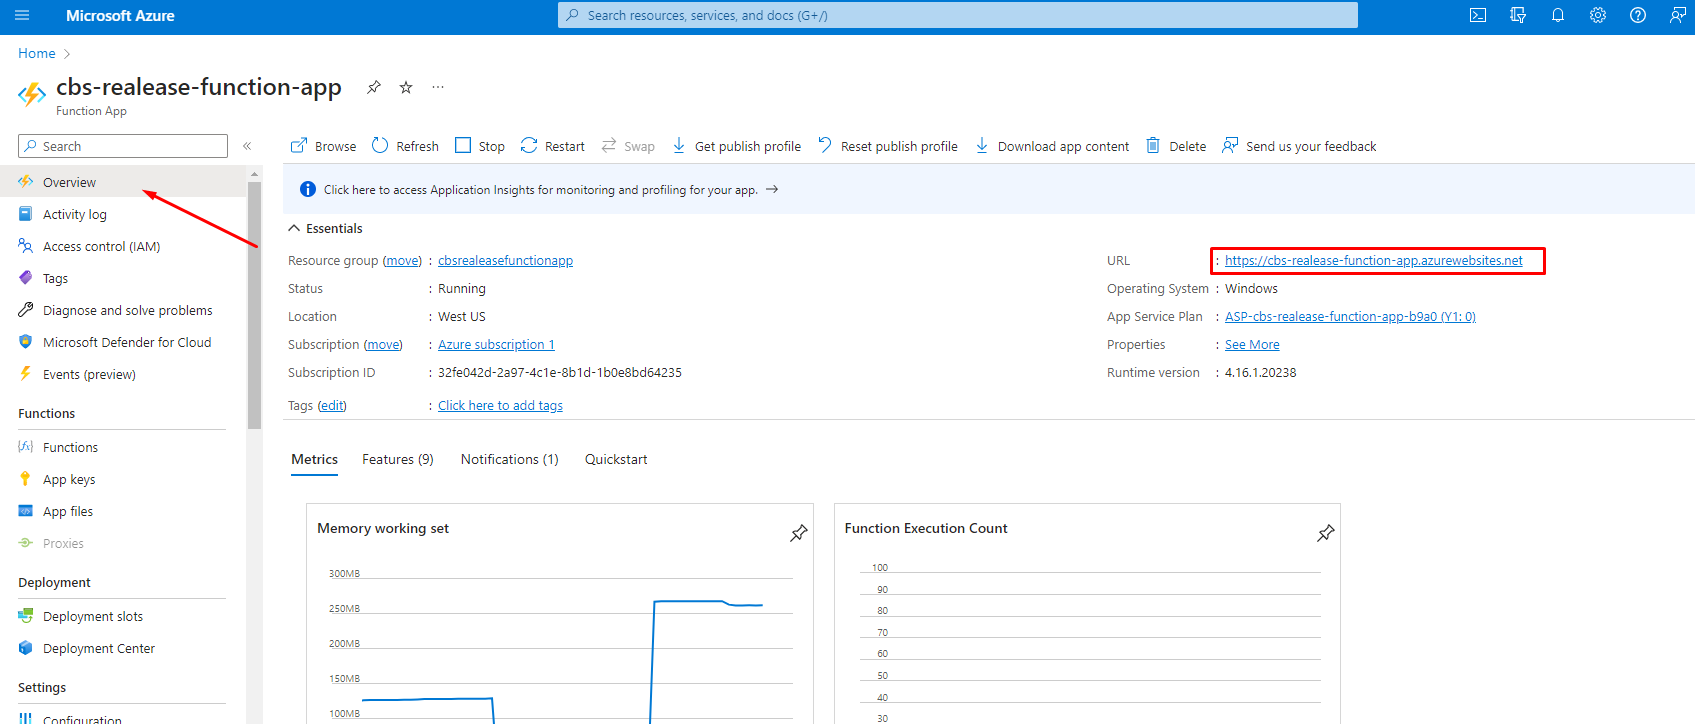
Navigate to "Overview". Copy URL property
Paste URL in to "Azure Function URL" field. Click Save
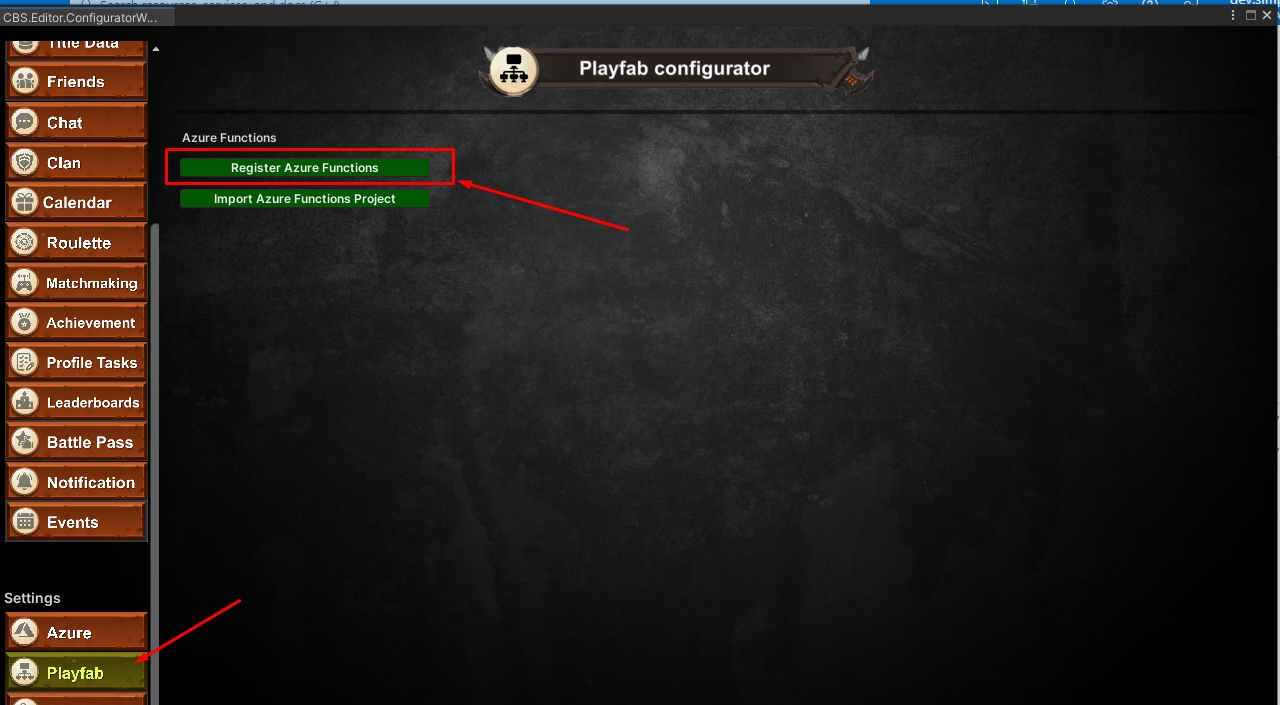
Navigate to PlayFab tab and click "Register Azure Functions"
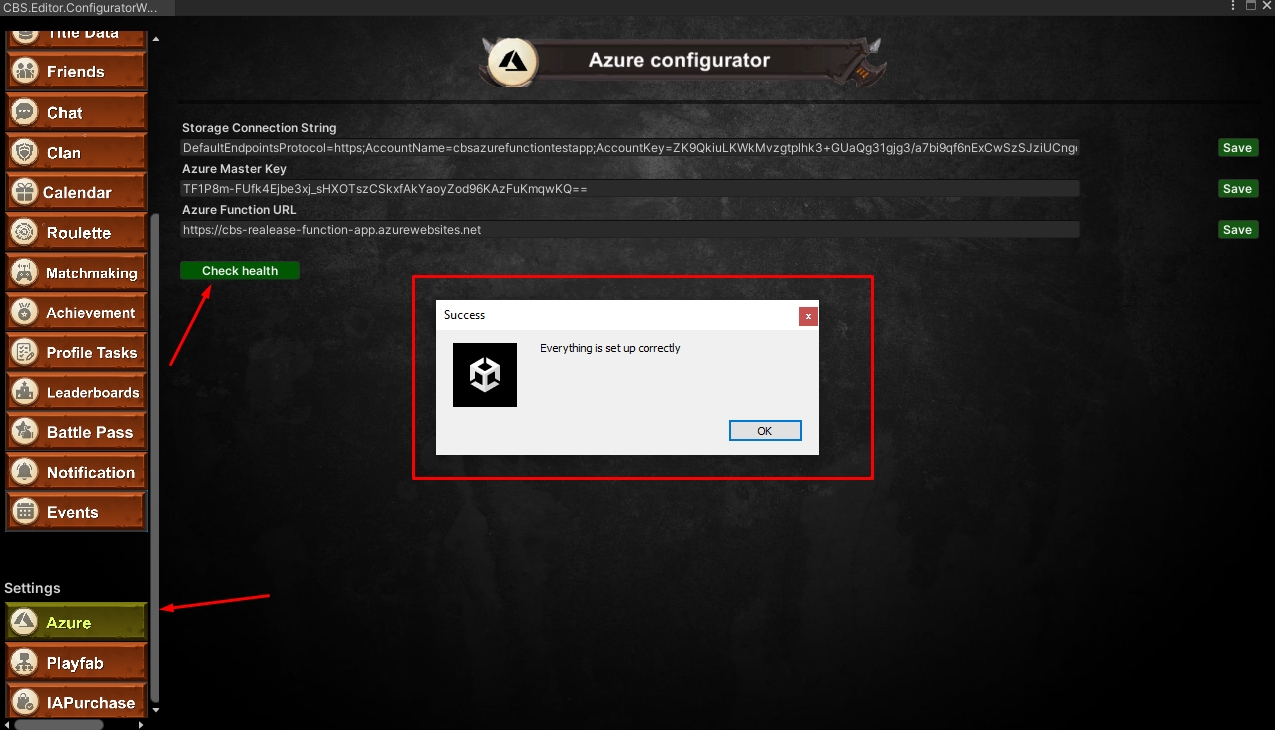
Navigate to Azure tab. Click "Check Health"
If you received a successful message, congratulations, you have configured everything correctly.
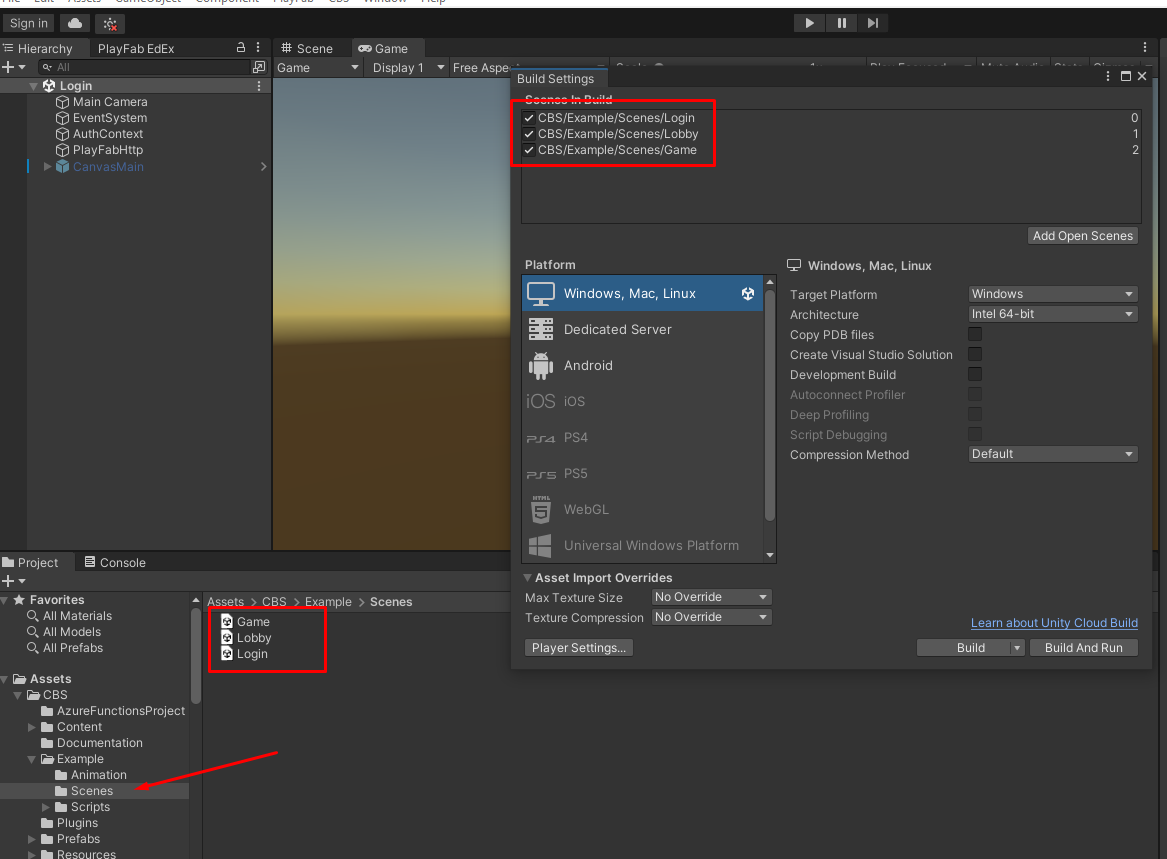
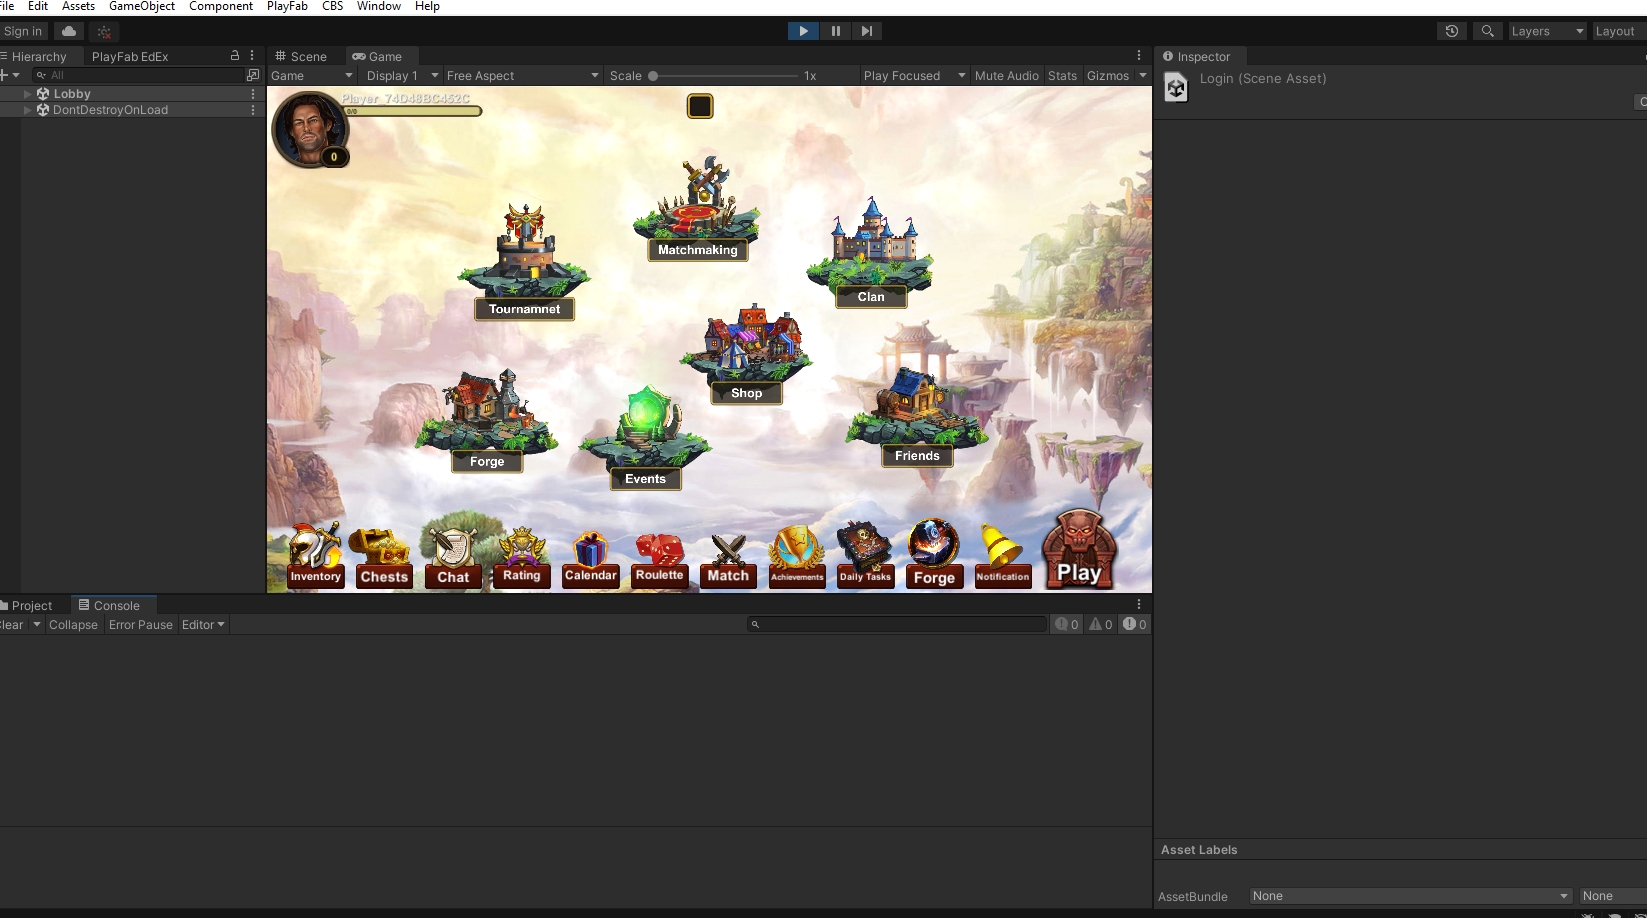
Setup example scenes.
Add examples scenes to Build Settings
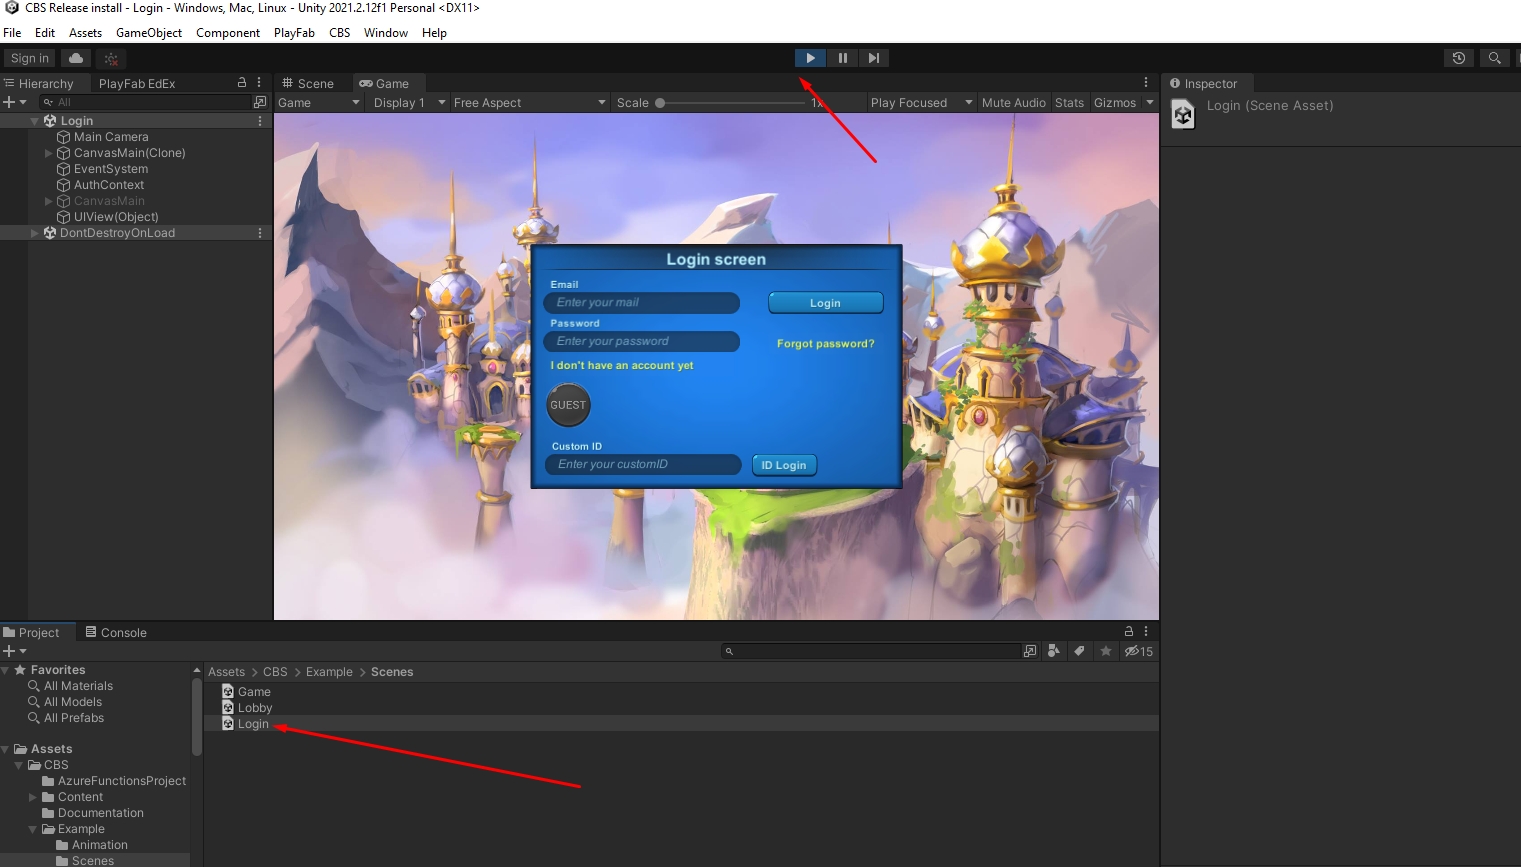
Open and run Login scene
Try login as guest
Last updated